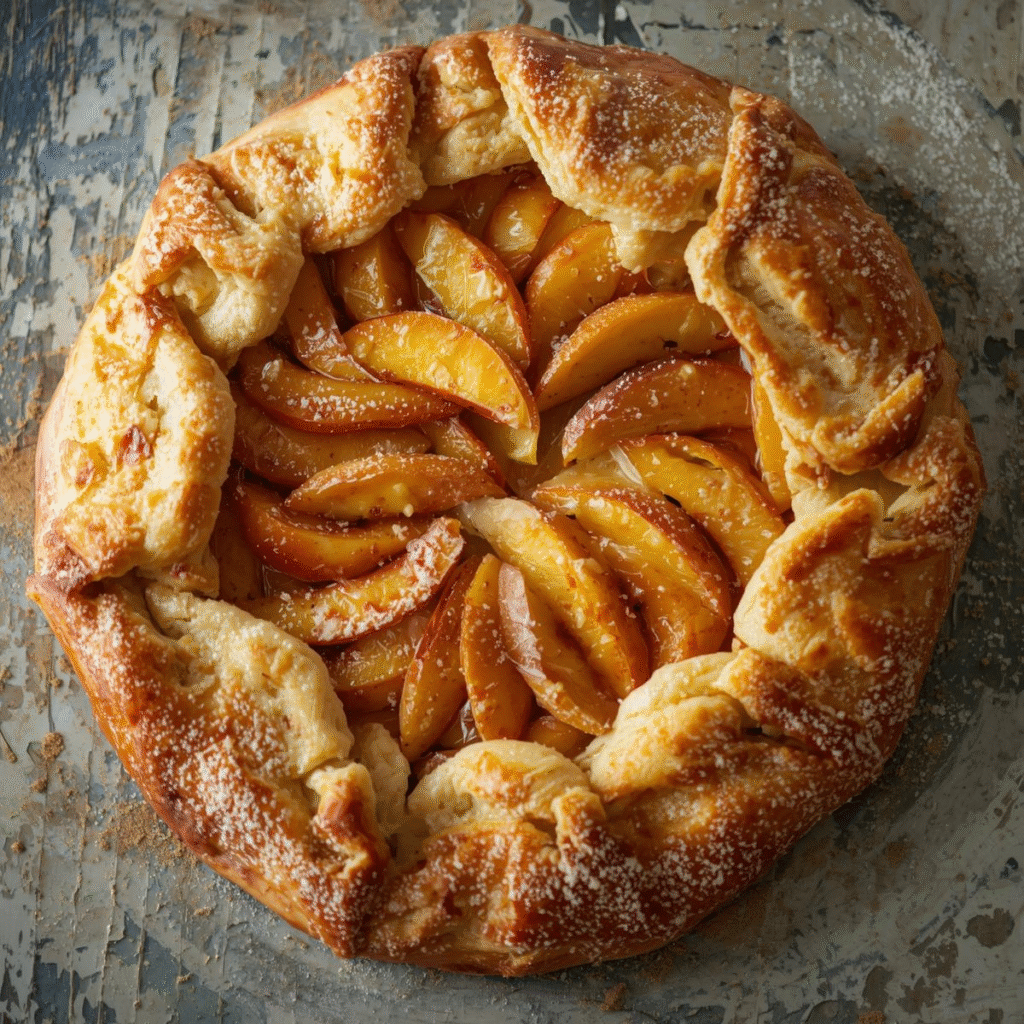
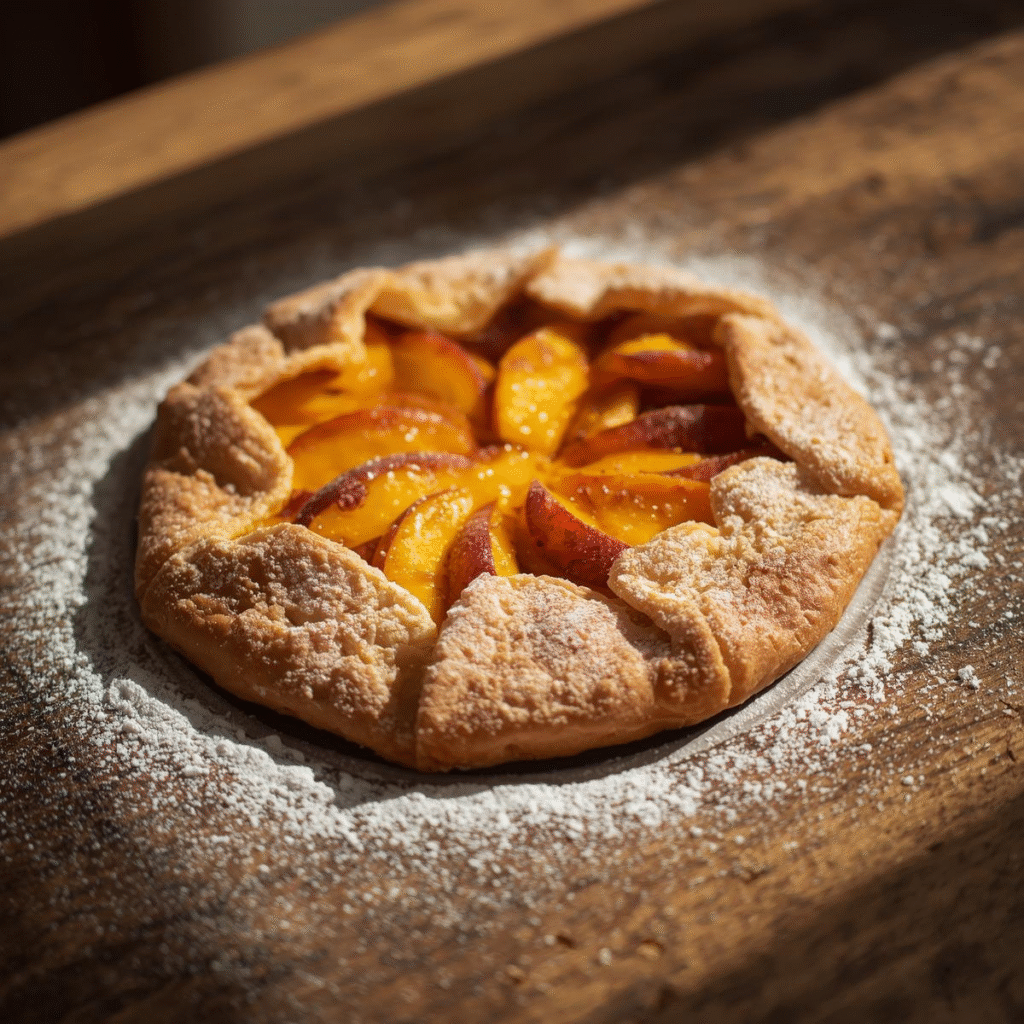
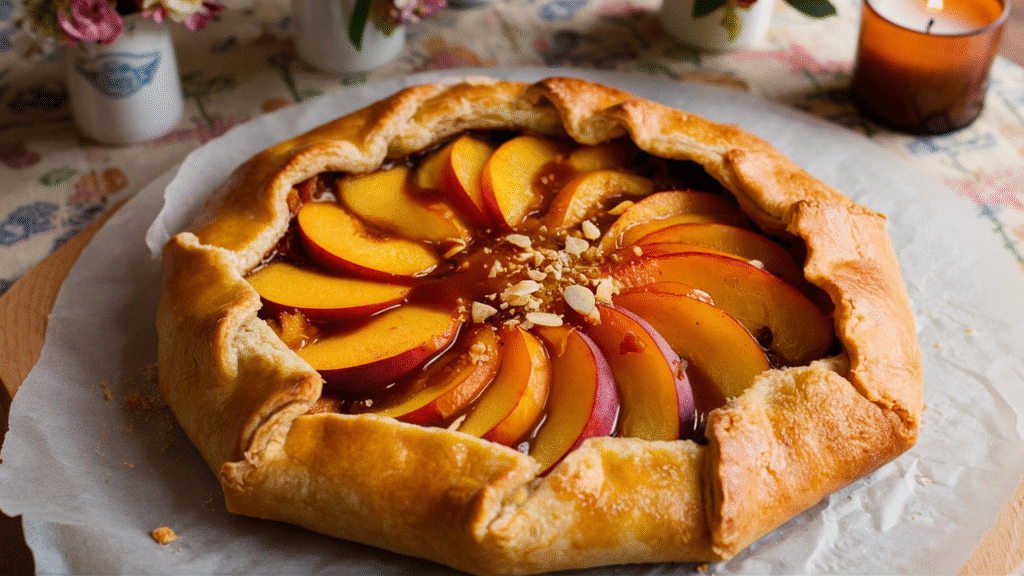
If you’ve ever wanted to bake something that looks fancy but is secretly the easiest dessert on the planet, let me introduce you to the peach galette. I still remember the first time I made it—it was late summer, I had ripe peaches sitting on my counter, and honestly, I was too lazy to bake a full pie. That’s when I stumbled upon the magic of a galette. Think of it as the laid-back cousin of pie—less pressure, more fun, but just as delicious.
And here’s the best part: you don’t need to be a pro baker. If you can slice fruit and fold dough, you can nail this recipe. Trust me, when you bring this to the table, people will think you spent hours on it.
Let’s dive in together—I’ll walk you through everything you need to know about making the perfect peach galette, step by step.
What is a Peach Galette?
A galette is basically a freeform tart. Instead of fussing with a pie dish, you roll out your dough flat, pile fruit in the center, fold the edges over, and bake. That’s it. No perfect crimping, no stressing about soggy bottoms—just rustic, beautiful, golden perfection.
A peach galette takes this idea and loads it with juicy, ripe peaches. When baked, the fruit caramelizes, the sugar melts into a glossy glaze, and the crust gets that buttery, flaky texture we all love. It’s like summer wrapped in pastry.

Why You’ll Love This Peach Galette
Here’s why I keep making this recipe every peach season—and why you’ll want to as well:
- It’s quick and simple – from start to finish, you’ll be done in about an hour.
- No special pans – you just need a baking sheet and parchment paper.
- It looks stunning – rustic desserts have that “wow factor” without needing perfection.
- Customizable – swap peaches with apples, plums, or berries if you like.
- Tastes amazing – sweet peaches + buttery crust = dessert heaven.
If you’re the type who loves desserts that impress with minimal effort, this one’s a keeper.

Ingredients You’ll Need
Here’s everything you’ll need to whip up your galette. Don’t worry—it’s probably stuff you already have at home.
For the crust:
- 1 ¼ cups all-purpose flour
- ½ teaspoon salt
- 1 tablespoon sugar
- ½ cup unsalted butter (cold, cut into cubes)
- 3–4 tablespoons ice water
For the filling:
- 4–5 ripe peaches (sliced, not too thin)
- ¼ cup granulated sugar
- 2 tablespoons brown sugar
- 1 tablespoon cornstarch (to thicken juices)
- ½ teaspoon cinnamon
- ½ teaspoon vanilla extract
- A squeeze of lemon juice
For finishing:
- 1 egg (for egg wash)
- 1 tablespoon coarse sugar (optional, for sprinkling)
- Whipped cream or vanilla ice cream (to serve)

Step-by-Step Instructions
This is where the fun begins. I’ll walk you through every step, and I promise, it’s easier than you think.
Step 1: Make the Dough
- In a bowl, mix flour, salt, and sugar.
- Cut in the butter using a pastry cutter or just your fingertips until it looks like coarse crumbs.
- Add ice water, one tablespoon at a time, until the dough comes together.
- Shape it into a disk, wrap in plastic, and chill for at least 30 minutes.
This chilling step is key—it keeps the butter cold, which means a flakier crust.
Step 2: Prepare the Peaches
- Slice your peaches (you can peel them if you like, but I usually leave the skins on).
- Toss them with sugar, brown sugar, cornstarch, cinnamon, vanilla, and lemon juice.
- Let the mixture sit for 10 minutes. This helps release some juice and makes the filling glossy.
It’ll smell so good at this point, you’ll want to sneak a bite—go ahead, I won’t tell.
Step 3: Roll Out the Dough
- On a floured surface, roll the dough into a rough circle, about 12 inches wide.
- Don’t worry if it’s not perfect—this is the beauty of a galette, rustic is the goal.
- Transfer the dough onto a baking sheet lined with parchment paper.
Step 4: Assemble the Galette
- Spoon the peach filling into the center of the dough, leaving about 2 inches around the edges.
- Gently fold the edges over the fruit, overlapping as needed.
- Brush the crust with egg wash and sprinkle with coarse sugar for that golden sparkle.
Step 5: Bake
- Bake at 400°F (200°C) for 35–40 minutes, until the crust is golden and the peaches are bubbling.
- Let it cool slightly before slicing.
Step 6: Serve
Serve warm with a scoop of vanilla ice cream or a dollop of whipped cream. The mix of warm peaches and cold cream? Pure happiness.
Tips for the Perfect Peach Galette
I’ve made this dessert dozens of times, and here are the little tricks that make it shine:
- Use ripe peaches – underripe peaches won’t release enough juice or flavor.
- Chill your dough – cold butter = flaky crust. Always.
- Don’t overload with fruit – too much filling makes a soggy bottom.
- Use cornstarch wisely – it thickens the peach juices so your galette isn’t runny.
- Serve fresh – best enjoyed the same day it’s baked.
Variations to Try
One of the best things about galettes is how flexible they are. If you love the peach version, try mixing it up:
- Peach and raspberry galette – add a handful of fresh raspberries.
- Peach and almond galette – sprinkle ground almonds under the peaches before baking.
- Savory galette – skip the sugar, and fill with tomatoes, zucchini, or cheese.
- Mixed stone fruit galette – combine peaches, plums, and nectarines.
Why a Galette is Better Than Pie (Sometimes)
Don’t get me wrong, I love a classic pie. But galettes? They’re less fussy. No pie tin, no crimping, no lattice top. You just fold and bake. It’s like the “weekend jeans” of baking—casual, relaxed, but still put-together.
And honestly, sometimes the rustic look is even prettier than a perfect pie. It feels homey, approachable, and 100% inviting.
Storing Your Peach Galette
If you have leftovers (rare, but it happens):
- Store at room temperature for up to 2 days, lightly covered.
- For longer storage, refrigerate up to 4 days.
- Reheat in the oven to crisp up the crust.
Avoid microwaving—it makes the crust soggy, and nobody wants that.

FAQs About Peach Galette
1. Can I use frozen peaches?
Yes! Just thaw and drain them well before using so the filling isn’t too watery.
2. Do I need to peel the peaches?
Not at all. The skins soften while baking and add color and flavor.
3. Can I use store-bought pie dough?
Absolutely. It makes the recipe even faster. But homemade dough does taste better.
4. How do I stop my galette from being soggy?
Use cornstarch to thicken the peach juices, and don’t overload with too much fruit.
5. What other fruits work for galettes?
Apples, plums, cherries, blueberries—you name it. Any fruit that bakes well works.
Final Thoughts
Making a peach galette is like giving yourself permission to enjoy the good things in life without overcomplicating them. It’s easy, quick, and forgiving, yet it looks like you’ve baked something out of a fancy bakery.
Next time you’ve got a basket of ripe peaches, skip the pie and try this galette. I promise, once you make it, you’ll want to make it again and again.
