I have to admit something—I never thought I’d love a dessert as much as I love cherry cobbler. The first time I made it, I wasn’t even planning to. I had extra cherries sitting in the fridge and thought, “Why not try?” And wow, it turned out so good that I couldn’t stop eating straight from the pan.
This recipe is simple, warm, sweet, and a little tangy. It’s the kind of dessert you can make for your family, your friends, or even when you’re just craving something cozy for yourself. And here’s the best part—you don’t need to be a pro baker. If you can measure, mix, and pop a dish in the oven, you can nail this.
Let’s go step by step, and I’ll share all my little secrets so your cherry cobbler comes out perfect every single time.
What Is Cherry Cobbler?
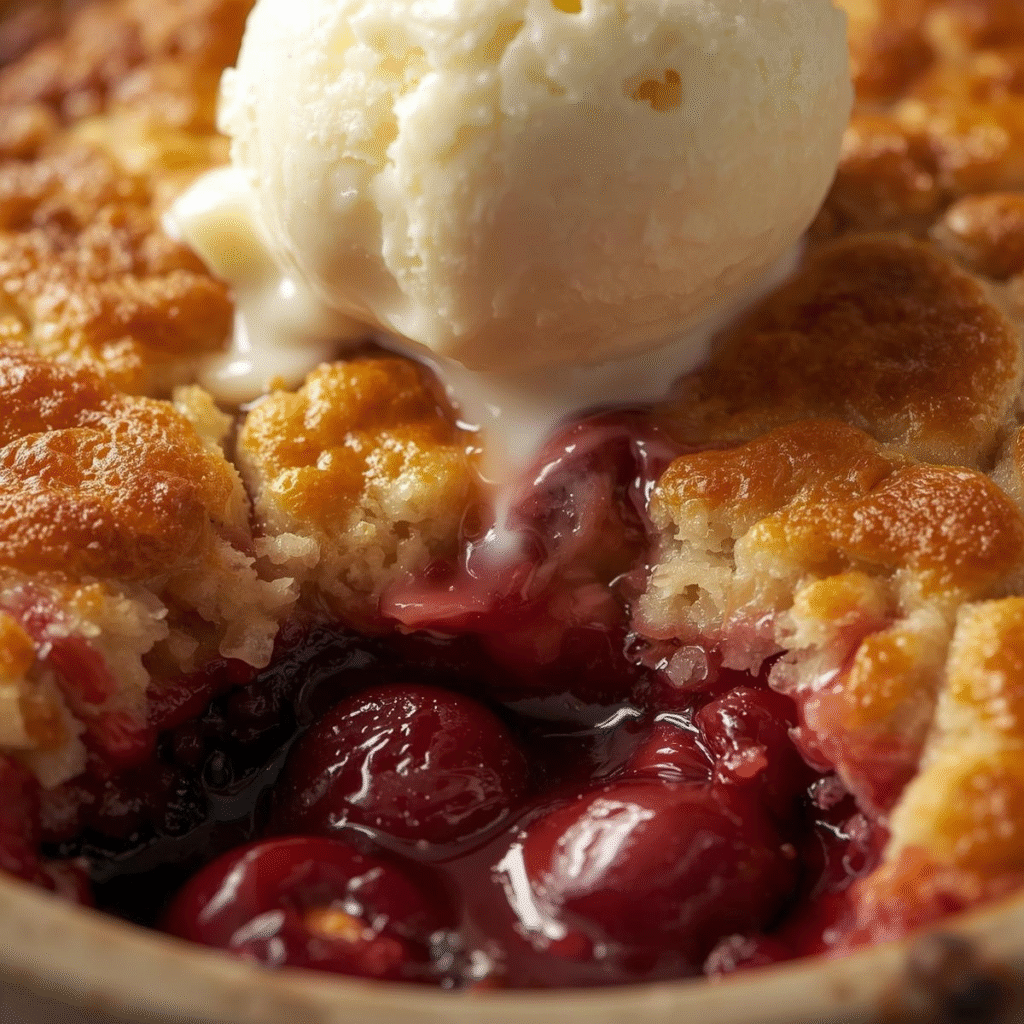
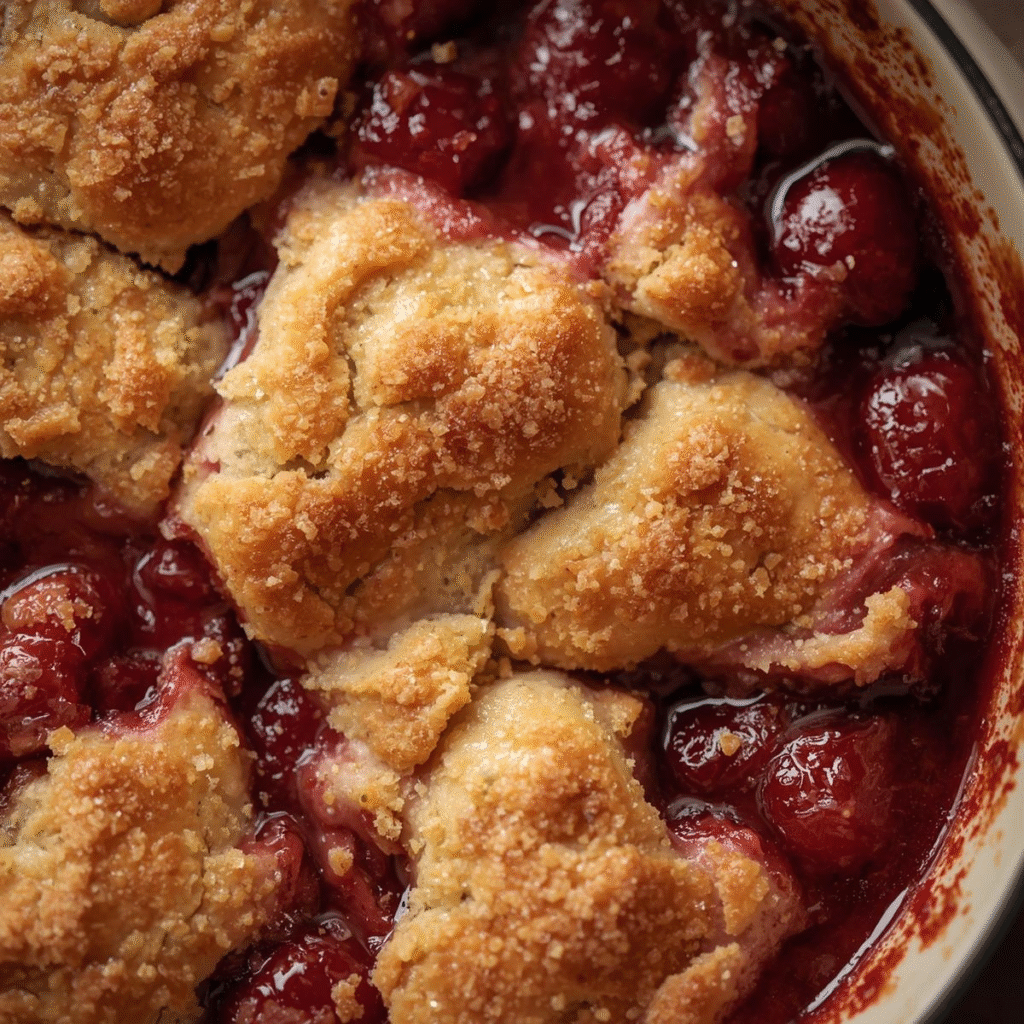
Cherry cobbler is an old-fashioned dessert that’s been around for centuries. It’s basically juicy cherries baked under a golden crust. Unlike a pie, which has a full bottom and top crust, cobbler has a thick, biscuit-like or cake-like topping spooned right over the fruit. When baked, the cherries bubble up through the cracks, making a dessert that’s gooey, crispy, and soft all at once.
Think of it like a pie’s relaxed cousin—it looks rustic, tastes amazing, and you don’t need to fuss with rolling dough.

Why You’ll Love This Recipe
- Easy to make – no pie crust skills needed.
- Sweet and tart balance – cherries are naturally tangy, and with the right sugar, they shine.
- Customizable – you can use fresh, frozen, or canned cherries.
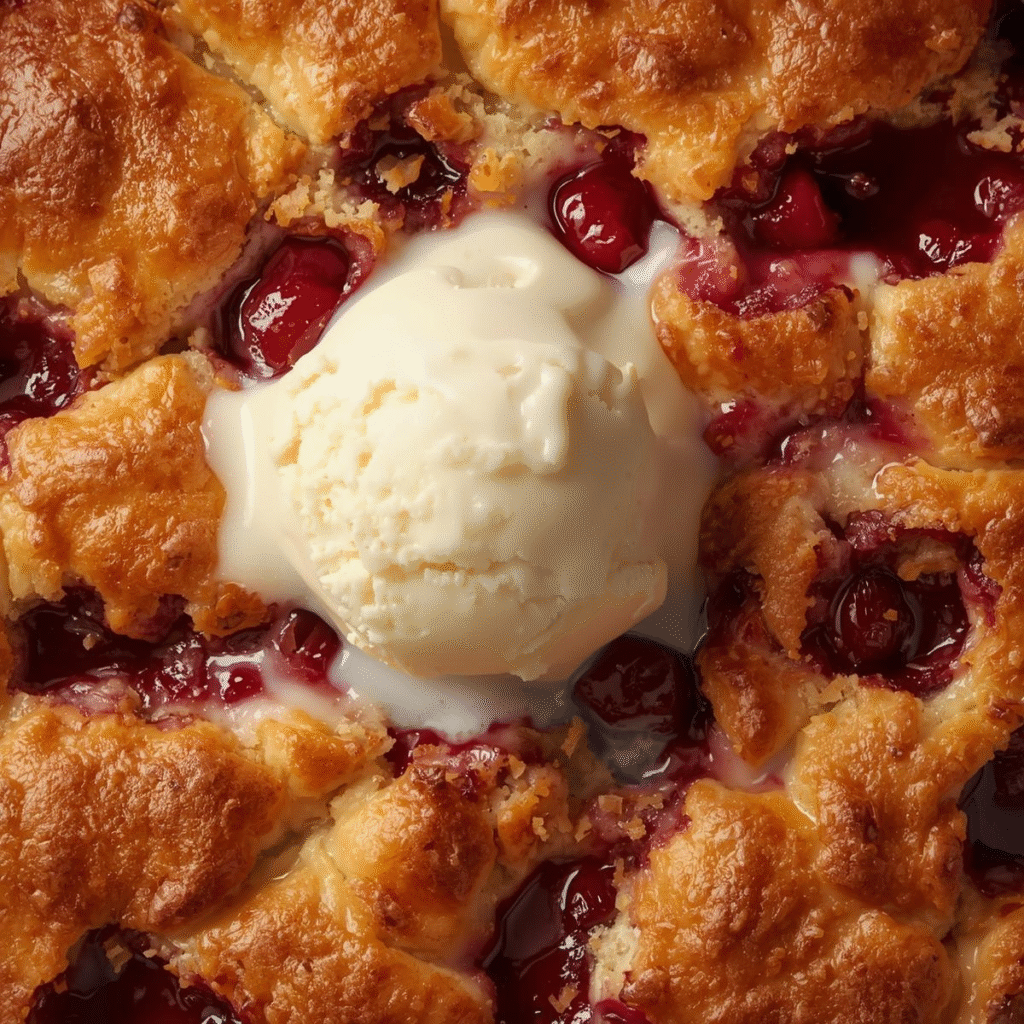
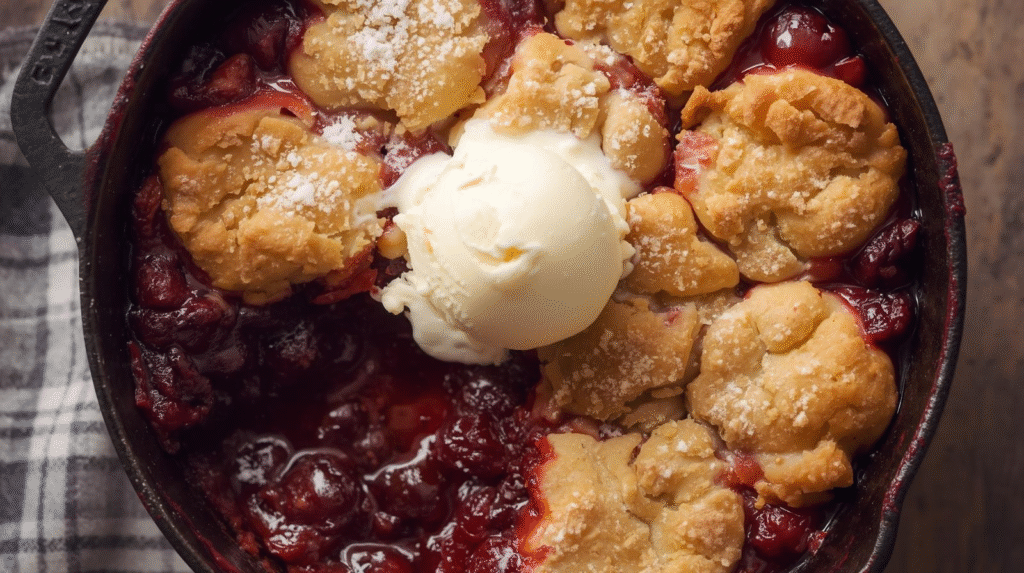
- Crowd-pleaser – warm cobbler with vanilla ice cream is always a hit.
- Comfort food – it just feels cozy, like a hug in dessert form.
Ingredients You’ll Need
Here’s what you’ll need to make cherry cobbler:
For the cherry filling:
- 4 cups cherries (fresh or frozen, pitted)
- ½ cup granulated sugar (adjust if cherries are very sweet)
- 2 tablespoons cornstarch
- 1 tablespoon lemon juice
- 1 teaspoon vanilla extract
For the cobbler topping:
- 1 cup all-purpose flour
- 1 cup granulated sugar
- 1 teaspoon baking powder
- ¼ teaspoon salt
- 1 stick (½ cup) unsalted butter, melted
- 1 cup milk
Optional but recommended: a pinch of cinnamon for warmth.
Step-by-Step Instructions
Step 1: Prep the cherries
If you’re using fresh cherries, wash and pit them. If frozen, just thaw a bit. Mix cherries with sugar, cornstarch, lemon juice, and vanilla. The cornstarch thickens the juices so you don’t end up with a watery cobbler.
Step 2: Make the topping
In a bowl, whisk flour, sugar, baking powder, and salt. Pour in melted butter and milk. Stir until smooth. It should be thick but pourable, almost like pancake batter.
Step 3: Assemble
Preheat your oven to 350°F (175°C). In a greased baking dish, spread the cherry filling evenly. Pour the batter on top. Don’t worry about covering every spot—the cherries bubbling through make it extra pretty.
Step 4: Bake
Bake for about 40–45 minutes, or until the top is golden brown and a toothpick comes out clean.
Step 5: Serve
Let it cool for at least 10 minutes so the filling sets. Serve warm with vanilla ice cream or whipped cream.
Tips for the Best Cherry Cobbler
- Taste your cherries first. If they’re very sweet, cut back on sugar. If they’re tart, add a little extra.
- Don’t skip lemon juice. It brightens the flavor and balances sweetness.
- Use real butter. Margarine won’t give you the same flavor.
- Serve warm. Cobbler tastes best fresh out of the oven with something creamy on top.
- Add spices. Cinnamon or nutmeg makes it feel extra cozy.

Variations You Can Try
- Mixed berry cobbler: Add blueberries or raspberries with cherries.
- Chocolate cherry cobbler: Sprinkle chocolate chips in the filling.
- Nutty cobbler: Add chopped pecans or almonds to the topping for crunch.
- Gluten-free version: Swap flour with a gluten-free baking mix.
- Low-sugar version: Use less sugar or a sugar substitute.
Storage and Reheating
- Room temperature: Keep covered for 1 day.
- Fridge: Store up to 4 days.
- Freezer: Freeze portions for up to 3 months.
- Reheat: Microwave for 30 seconds or warm in oven at 300°F until heated through.
Why I Love This Recipe
I love desserts that don’t stress you out. With pie, I sometimes worry about crust cracking or rolling it too thin. But with cobbler, none of that matters. The more rustic it looks, the better. Plus, every bite is a surprise—some are extra juicy, others are more crusty, but all are delicious.
This cherry cobbler is a reminder that simple things can be the most comforting. If you’ve never tried making one, I promise this will change your mind.

FAQs About Cherry Cobbler
1. Can I use canned cherries?
Yes! Just drain them well and adjust sugar since canned cherries are often sweeter.
2. Can I make cherry cobbler ahead of time?
Yes, you can bake it a day before and reheat before serving.
3. What’s the difference between cobbler and crumble?
Cobbler has a cake-like or biscuit topping, while crumble has a crumbly, streusel-like topping.
4. Can I double this recipe?
Absolutely. Use a larger dish and extend baking time slightly.
5. Can I make it vegan?
Yes—use plant-based butter and almond or oat milk.
Final Thoughts
Cherry cobbler is one of those desserts that feels like home no matter where you eat it. It’s easy, forgiving, and always delicious. Whether you’re cooking for your family, friends, or just yourself, this is a recipe you’ll come back to again and again.
So go ahead—grab those cherries and let your kitchen smell like pure comfort.
