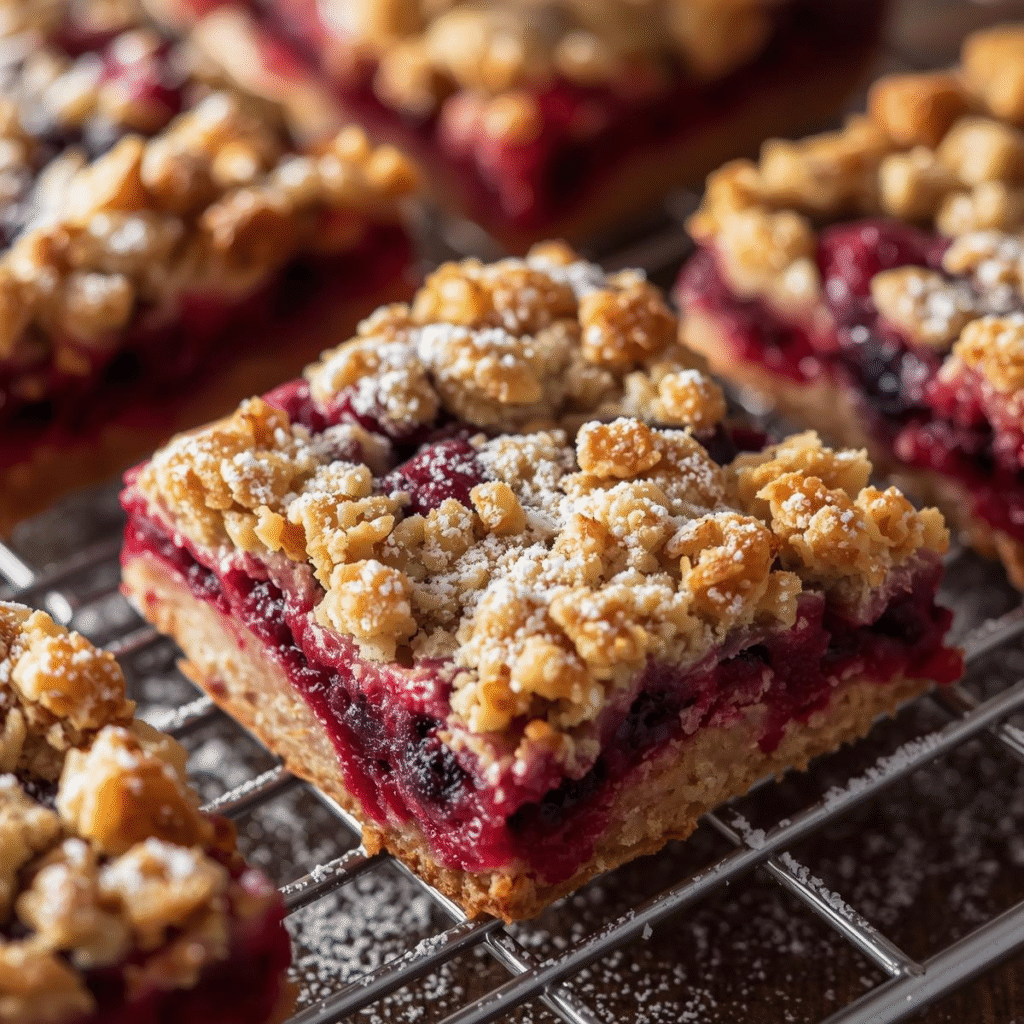
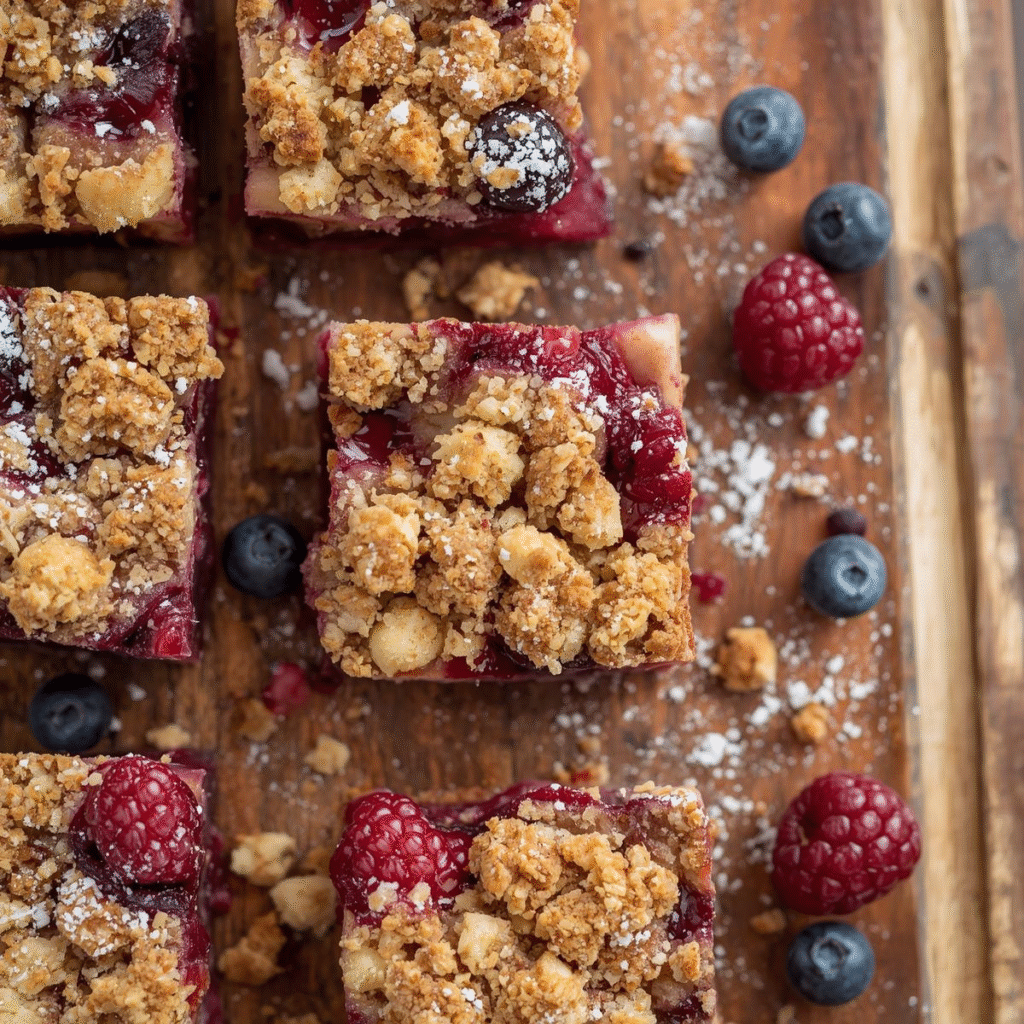
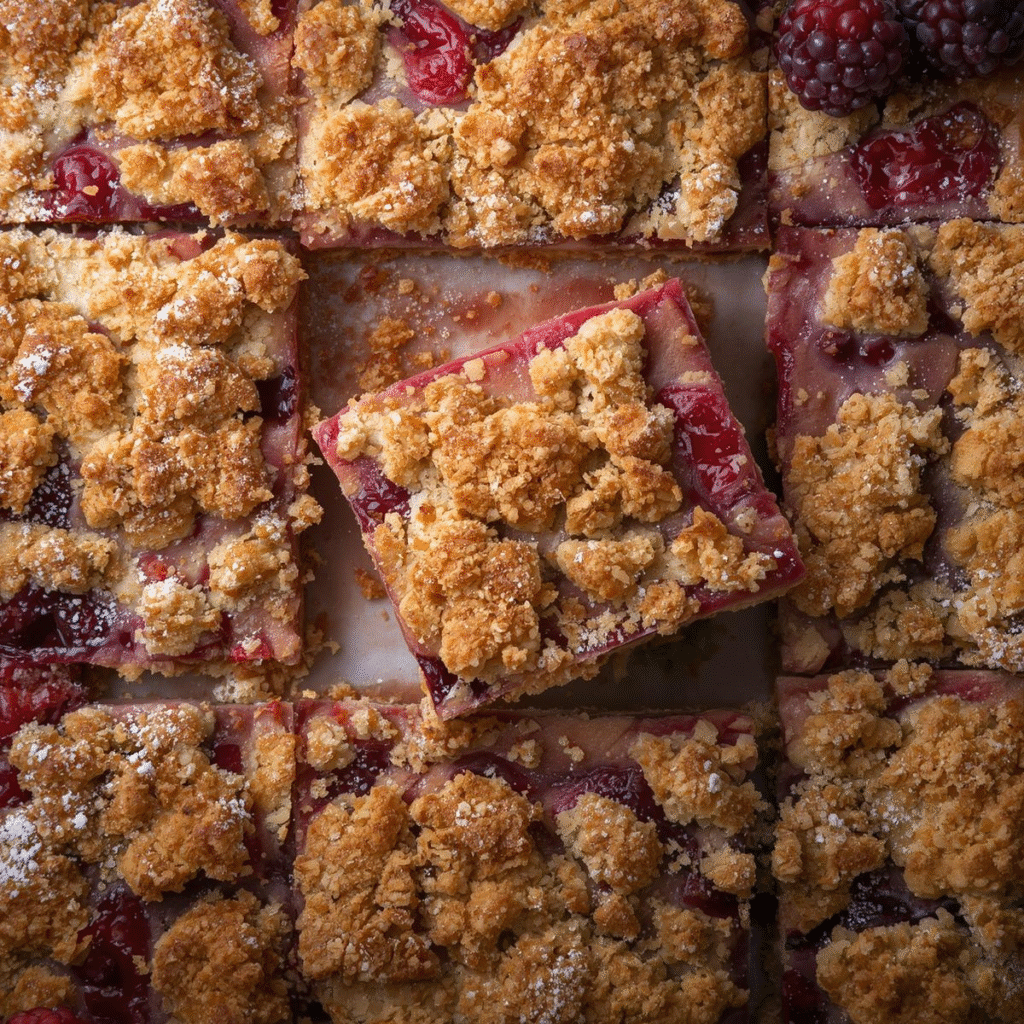
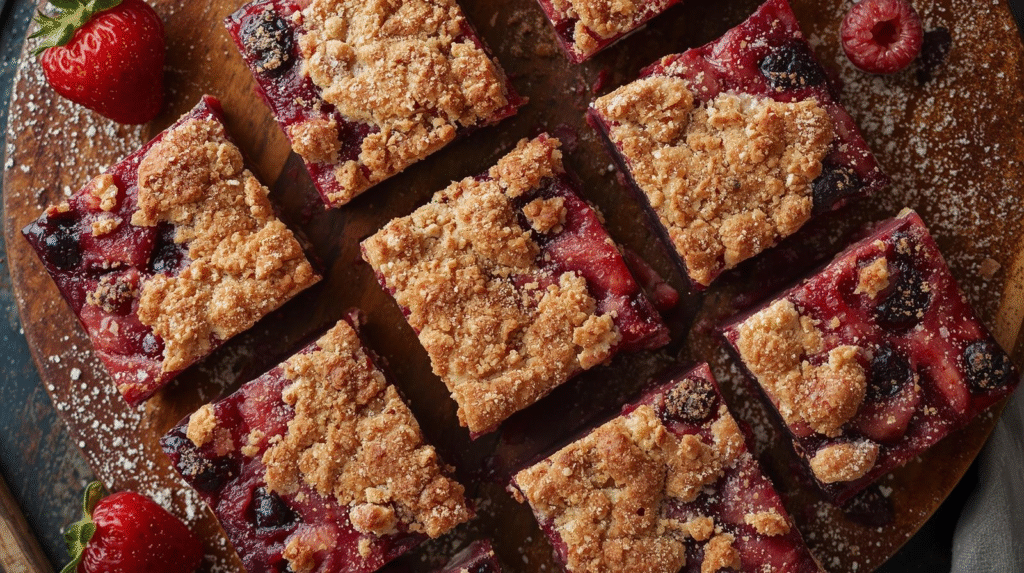
Why I Love Berry Crumble Bars
I’ll be honest with you—berry crumble bars were not always on my baking list. I stumbled upon them one summer when I had too many berries in the fridge, and I didn’t want them to go to waste. I mixed them with a little sugar, baked them with a crumbly topping, and suddenly my whole house smelled like a bakery. The first bite was soft, sweet, a little tangy, and perfectly buttery. Since then, these bars have become one of my go-to desserts, and I promise you’ll love them just as much.
They’re easy, don’t require fancy ingredients, and the best part? You don’t need to be a pro baker to make them taste amazing. If you can stir, sprinkle, and bake, you’re all set.

Ingredients You’ll Need
Let’s keep it simple. You probably already have most of these in your kitchen.
- 1 cup butter (softened, unsalted is best)
- 1 cup granulated sugar
- 1/2 cup brown sugar (adds a deep caramel flavor)
- 3 cups all-purpose flour
- 1 teaspoon baking powder
- 1/4 teaspoon salt
- 1 large egg
- 1 teaspoon vanilla extract
- 4 cups mixed berries (blueberries, raspberries, blackberries, or strawberries—fresh or frozen)
- 1/3 cup sugar (for berries)
- 1 tablespoon cornstarch (helps berries thicken when baking)
- 1/2 teaspoon lemon zest (optional, but it brightens the flavor)

Step 1: Prepare the Base
This is the foundation of your bars—the buttery crust that holds everything together.
- Preheat your oven to 350°F (175°C).
- Grease and line a 9×13-inch baking pan with parchment paper. This makes it easier to lift out the bars later.
- In a large mixing bowl, cream together butter, granulated sugar, and brown sugar until light and fluffy.
- Beat in the egg and vanilla extract.
- Add the flour, baking powder, and salt. Mix until crumbly.
Now, press about two-thirds of this mixture into the bottom of your baking pan. This will be your crust. Don’t worry if it looks a little crumbly—it bakes into perfection.
Step 2: Make the Berry Filling
This is where the magic happens. The juicy berries melt into the crust and create that sweet-tangy middle layer.
- In a medium bowl, toss together the berries, sugar, cornstarch, and lemon zest.
- If using frozen berries, don’t thaw them—just toss them straight in. They’ll release extra juice, but the cornstarch will handle it.
Spread the berry mixture evenly over your crust. The bright colors already make it look amazing, and it only gets better once baked.
Step 3: Add the Crumble Topping
Remember that dough you set aside earlier? That’s your golden topping.
- Sprinkle the remaining crumb mixture evenly over the berry layer. Don’t press it down too much—leave it crumbly and rustic.
- If you want to get fancy, you can add a handful of chopped nuts or oats for extra crunch.
Step 4: Bake to Perfection
Now comes the hardest part—waiting.
- Bake in your preheated oven for 40–45 minutes or until the top is golden brown and the berries are bubbling.
- Your kitchen will smell like heaven, but resist the urge to cut them right away. Let them cool completely before slicing. Trust me, it makes all the difference.
Step 5: Slice and Serve
Once cooled, lift the bars out of the pan using the parchment paper. Slice into squares or rectangles.
They’re delicious at room temperature, but if you really want to take it up a notch, serve them slightly warm with a scoop of vanilla ice cream. It’s like a berry pie but easier and way less messy.
Why These Bars Are So Perfect
Here’s why I keep making these again and again—and why you will too:
- Easy to make: No rolling dough, no complicated steps.
- Flexible: Use any berries you love or whatever you have on hand.
- Great for sharing: They’re easy to transport, and everyone loves them at potlucks or picnics.
- Not overly sweet: The tartness of the berries balances the buttery crust.
It’s one of those recipes that feels fancy but is secretly super simple.
Tips for the Best Berry Crumble Bars
A few little secrets I’ve picked up along the way:
- Use cold butter if you want a more crumbly texture. Softer butter gives a smoother crust.
- Mix berries for flavor depth. Blueberries add sweetness, raspberries add tang, and blackberries add richness.
- Don’t overbake. Pull them out when the edges are golden and the center looks set.
- Line your pan. Seriously, parchment paper saves you from sticky disasters.
- Chill before cutting. If you want clean, sharp slices, refrigerate for 30 minutes before slicing.
Fun Variations to Try
If you want to get creative, here are some twists I’ve tried:
- Add chocolate chips to the crumble topping for a sweet surprise.
- Use peaches or cherries instead of berries for a whole new flavor.
- Make them gluten-free by swapping flour for almond or oat flour.
- Add coconut flakes to the topping for a tropical vibe.
Storing Your Berry Crumble Bars
You don’t have to eat them all at once (though it’s tempting).
- Store at room temperature in an airtight container for up to 2 days.
- In the fridge, they’ll last up to 5 days.
- Freeze them for up to 2 months. Just wrap individually, and thaw when needed.
They taste just as good after freezing, which makes them perfect for meal prepping dessert (yes, that’s a thing).

FAQs About Berry Crumble Bars
Can I use frozen berries?
Yes! Frozen berries work great. Just don’t thaw them first—toss them straight in with the sugar and cornstarch.
Can I reduce the sugar?
Absolutely. If your berries are naturally sweet, you can cut the sugar by 1/3 and it will still taste amazing.
Can I make them ahead of time?
Yes. In fact, they taste even better the next day when the flavors settle in.
Do I have to use lemon zest?
No, but it really brightens the flavor. If you don’t have lemon, a tiny splash of orange juice works too.
What’s the best way to serve them?
I love them plain, but if you really want to impress guests, add whipped cream or ice cream.
Final Thoughts
Berry crumble bars are one of those desserts that never fail. They’re simple, cozy, and full of flavor. They remind me of summer afternoons, family gatherings, and the joy of baking something with love. Once you make them, they’ll probably become a regular in your kitchen too.
So grab those berries, preheat the oven, and let’s make dessert magic.
