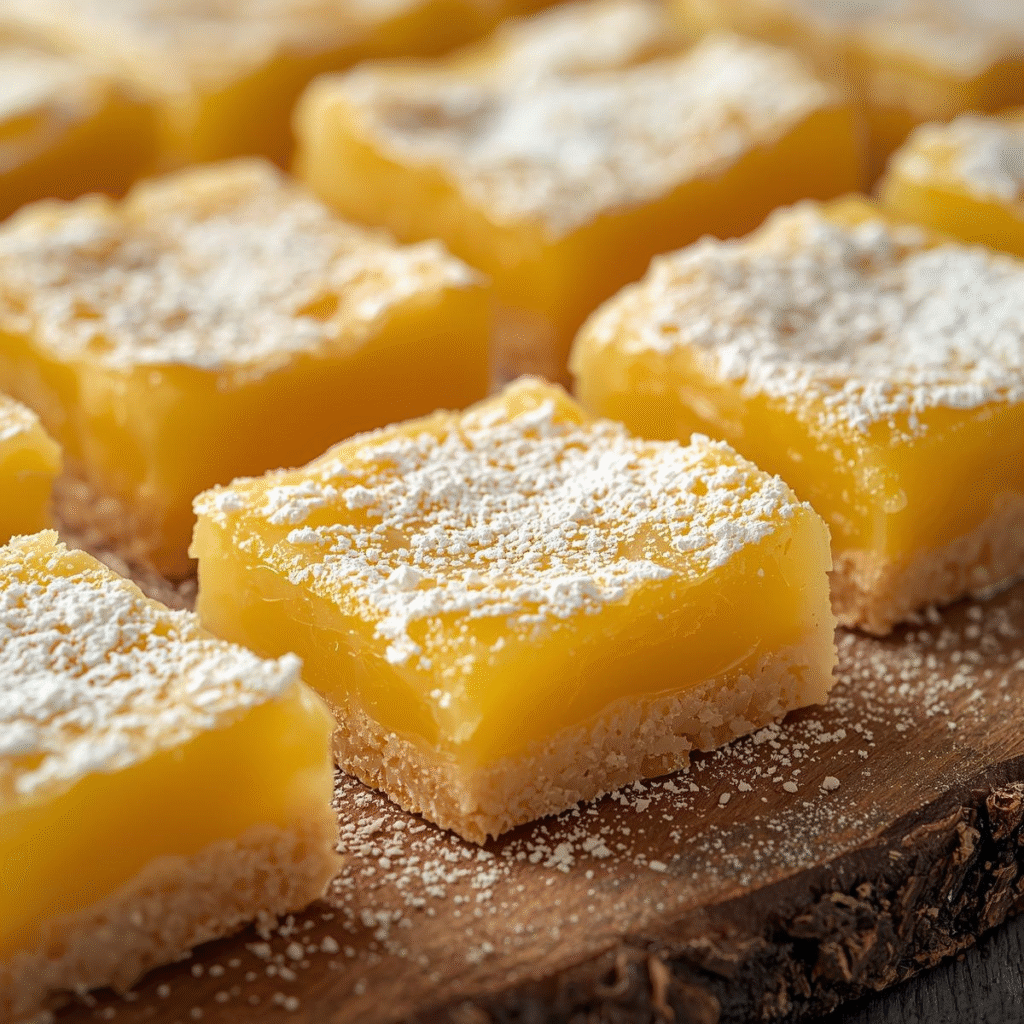
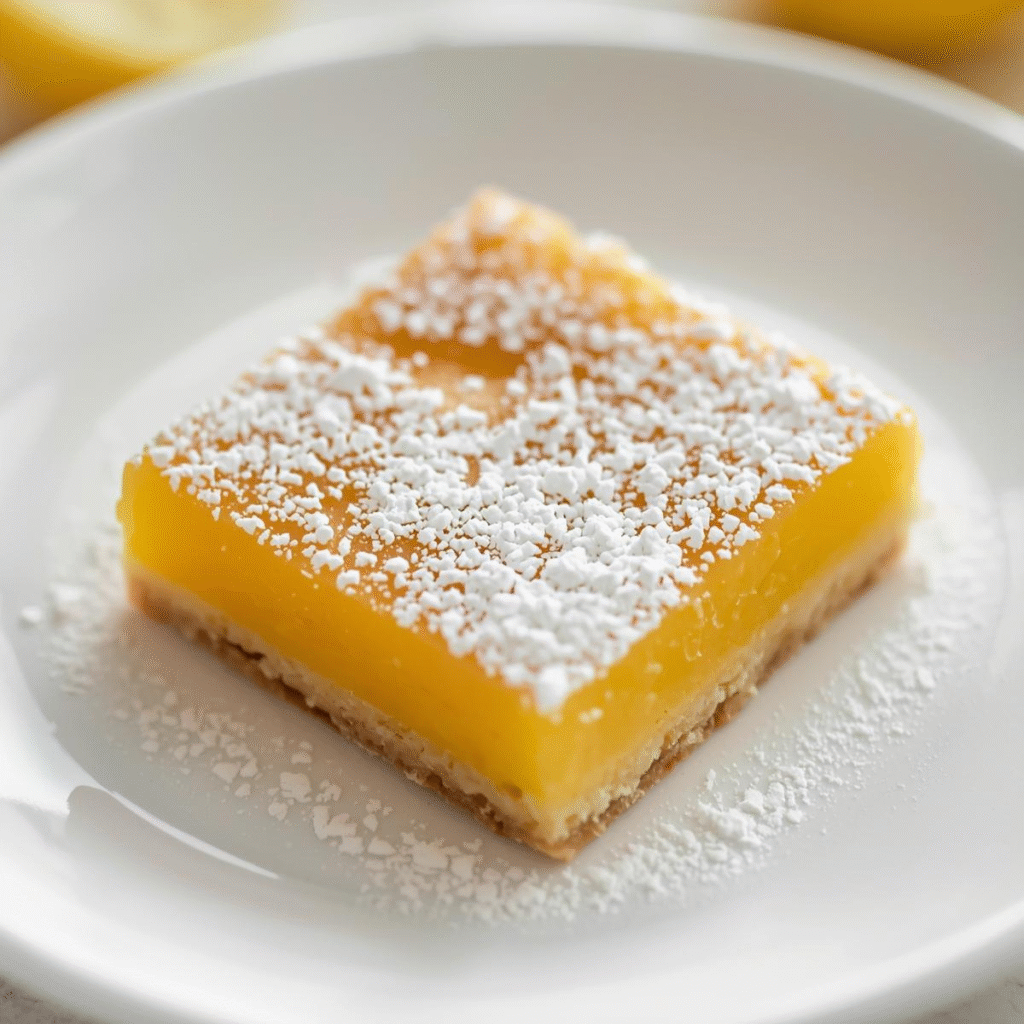
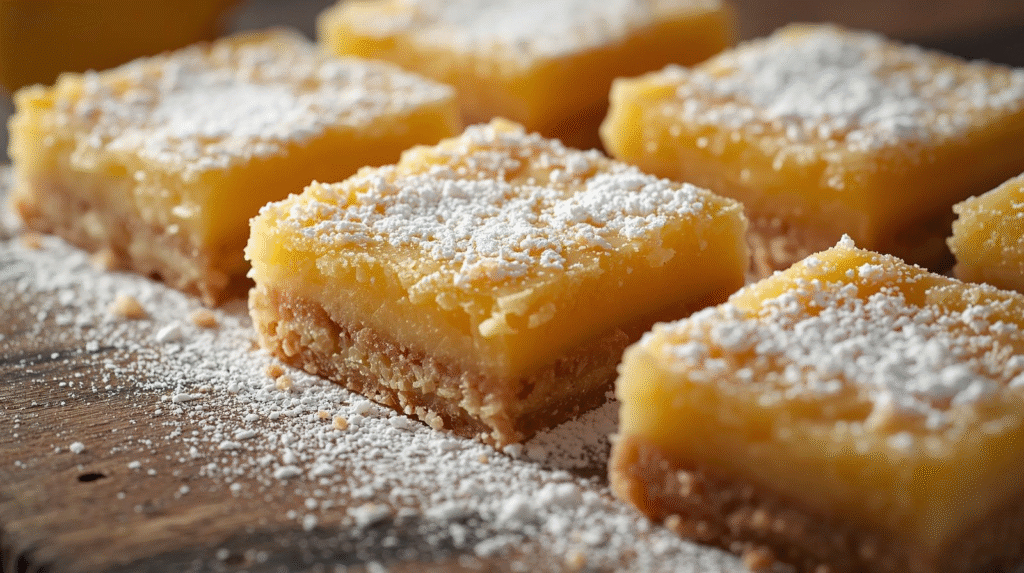
There’s something magical about lemon bars. The soft, buttery crust paired with the sweet yet tangy lemon filling is a dessert that feels like sunshine in every bite. I still remember the first time I baked lemon bars—I had no idea they’d be gone within minutes of placing them on the table. And here’s the thing: they’re not hard to make at all. With the right steps, you can bake the perfect lemon bars in just 50 minutes, and today, I’m sharing exactly how.
This recipe is light, zesty, and guaranteed to impress your friends, family, or even just yourself on a cozy afternoon.
Why Lemon Bars Are Always a Hit
Lemon bars are the kind of dessert that feels both comforting and refreshing. They’re not heavy like chocolate cake, but they’re not too plain either. The bright citrus flavor makes them perfect for every season—refreshing in summer, cheerful in spring, and even uplifting in colder months when you need a little sunshine.
Another reason people love lemon bars? They’re easy to serve. You can cut them into squares, wrap them up for a lunchbox treat, or plate them beautifully for a party.
I like to think of them as the “crowd-pleaser” dessert—you’ll rarely meet someone who doesn’t sneak back for a second square.

Ingredients You’ll Need
Let’s break it down. For the crust and the lemon filling, you’ll need only a handful of everyday ingredients.
For the crust:
- 1 cup unsalted butter, softened
- 2 cups all-purpose flour
- 1/2 cup granulated sugar
- A pinch of salt
For the lemon filling:
- 1 1/2 cups granulated sugar
- 1/4 cup all-purpose flour
- 4 large eggs
- 2/3 cup fresh lemon juice (about 3–4 lemons)
- Zest of 1 lemon for extra flavor
Optional for topping:
- Powdered sugar for dusting
These are simple pantry staples, but together, they create the perfect balance of buttery, sweet, and tangy flavors.

Step-by-Step Instructions
Here’s the fun part—let’s bake!
1. Prepare the Crust
Start by preheating your oven to 350°F (175°C). In a bowl, mix the softened butter, flour, sugar, and salt until it turns crumbly. Press this mixture evenly into a greased 9×13-inch baking dish.
This crust is the foundation of your lemon bars—it should be buttery and slightly crisp, like a cookie base. Bake it for 15–18 minutes until lightly golden.
2. Make the Lemon Filling
While the crust is baking, whisk together the sugar and flour in a separate bowl. Then add the eggs, lemon juice, and zest. Whisk until smooth and well combined.
The filling should be a beautiful pale yellow with a refreshing citrus scent that makes you want to taste it right away.
3. Combine and Bake
Once the crust is ready, pour the lemon mixture over it while it’s still hot. Pop it back into the oven and bake for 20–25 minutes, until the filling is set and doesn’t jiggle when you shake the pan.
Here’s my tip: Don’t overbake. The filling should be firm but soft, almost like custard.
4. Cool and Serve
Allow the bars to cool completely. This step is crucial because it helps the filling set properly. Once cooled, dust with powdered sugar, slice into squares, and serve.
And there you have it—perfect lemon bars in 50 minutes.
Tips for the Perfect Lemon Bars
I’ve made lemon bars dozens of times, and here are some tricks I swear by:
- Use fresh lemon juice: Bottled juice doesn’t give the same fresh and tangy flavor.
- Don’t skip the zest: The zest adds depth and a burst of citrus aroma.
- Cool completely before slicing: This prevents the filling from running and helps clean cuts.
- Line the pan with parchment paper: Makes removing the bars much easier.
Why You’ll Love This Recipe
This recipe is perfect if you:
- Want a quick dessert that looks fancy but is easy to make.
- Love a mix of sweet and tangy flavors.
- Need something that works for parties, picnics, or everyday treats.
I’ve brought these lemon bars to potlucks, family dinners, and even office gatherings, and they never disappoint. People always ask, “Can I get the recipe?”
Variations to Try
Once you master the classic lemon bars, you can play around with variations:
- Add berries: A few fresh raspberries or blueberries in the filling make them extra special.
- Coconut topping: Sprinkle shredded coconut over the filling before baking for a tropical twist.
- Gluten-free crust: Use almond flour instead of all-purpose flour for a nutty flavor.
- Extra tangy: Add more zest if you want a sharper lemon punch.

Storing and Freezing Lemon Bars
These bars store really well, which is another reason I love them.
- In the fridge: Store in an airtight container for up to 1 week.
- In the freezer: Wrap each square in plastic wrap, then store in a freezer bag. They last up to 3 months.
To serve after freezing, thaw them in the fridge overnight.
Nutrition Breakdown
Here’s an approximate nutrition profile per serving (1 square if cut into 24 bars):
- Calories: 180
- Fat: 8g
- Carbohydrates: 26g
- Sugar: 18g
- Protein: 2g
Not too heavy, not too light—just the right balance for a sweet treat.
FAQs
1. Can I make lemon bars ahead of time?
Yes! In fact, they taste even better the next day once the flavors settle.
2. Can I use bottled lemon juice?
You can, but I don’t recommend it. Fresh lemon juice gives the best flavor.
3. How do I know if my lemon bars are done?
The filling should be set and not jiggle when you gently shake the pan.
4. Can I double the recipe?
Yes, just use a larger baking dish and slightly increase the baking time.
5. Why did my lemon bars turn out runny?
They might have been underbaked or not cooled completely before cutting.
Final Thoughts
If you’ve been searching for a dessert that’s quick, simple, and absolutely delicious, these lemon bars are your answer. In just 50 minutes, you can whip up a treat that’s bright, sweet, tangy, and totally irresistible.
So, grab some lemons, preheat your oven, and let’s bake happiness—one square at a time.
