If you’ve ever wanted a meal that tastes like comfort and feels like a restaurant dish, but without the hassle, let me introduce you to my crispy parmesan chicken recipe. I came up with this dish on a busy weeknight when I had very little time but wanted something special. And guess what? It turned out so good that now it’s a regular in my kitchen. I’m telling you—you’re going to love it because it’s quick, it’s crunchy, and it’s full of flavor. Let’s dive in together.
Why Crispy Parmesan Chicken Works Every Time
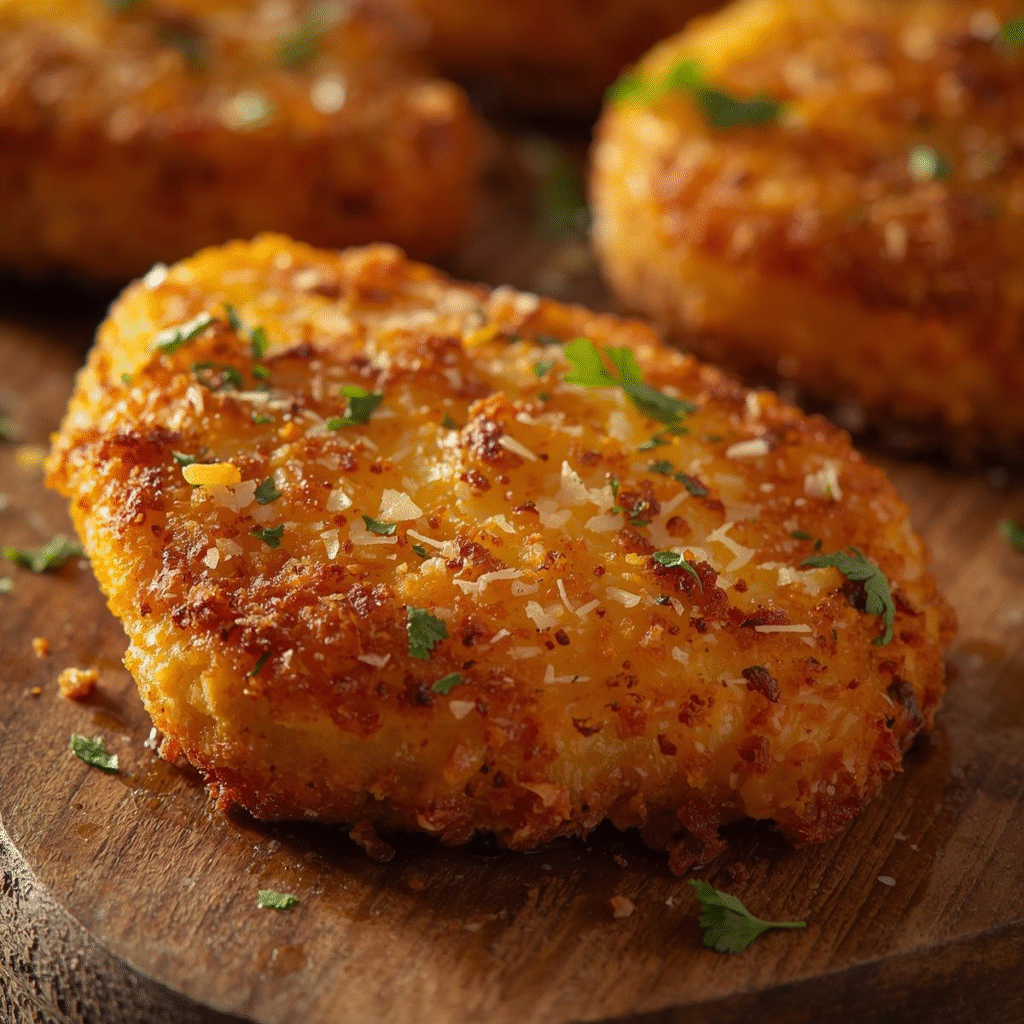
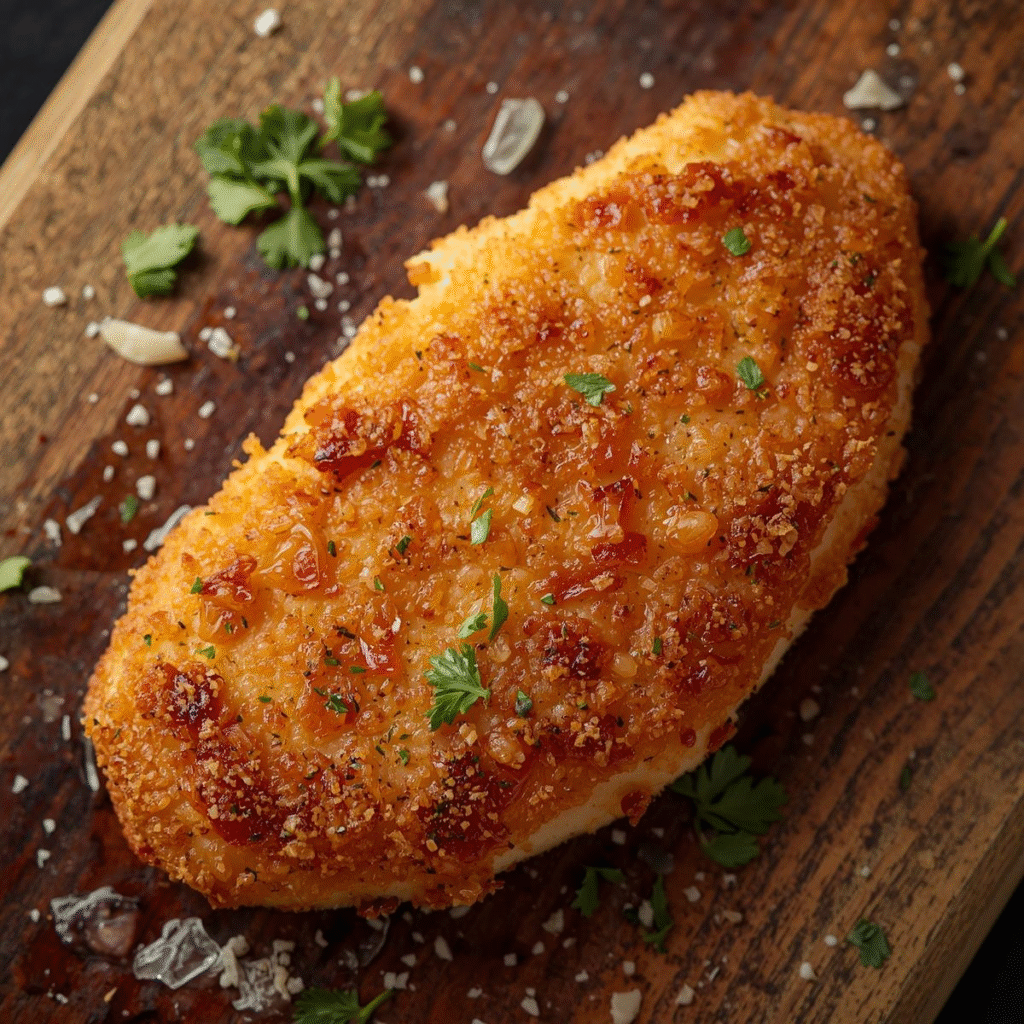
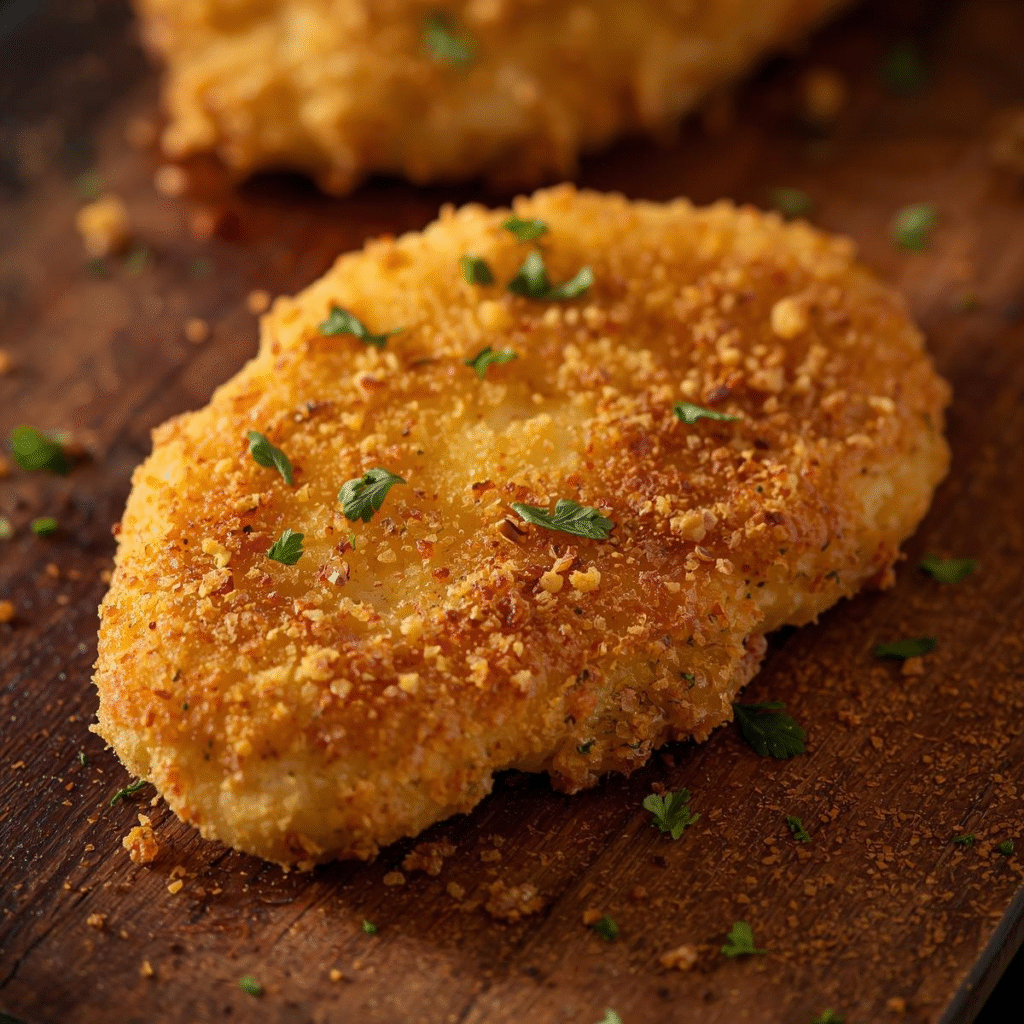
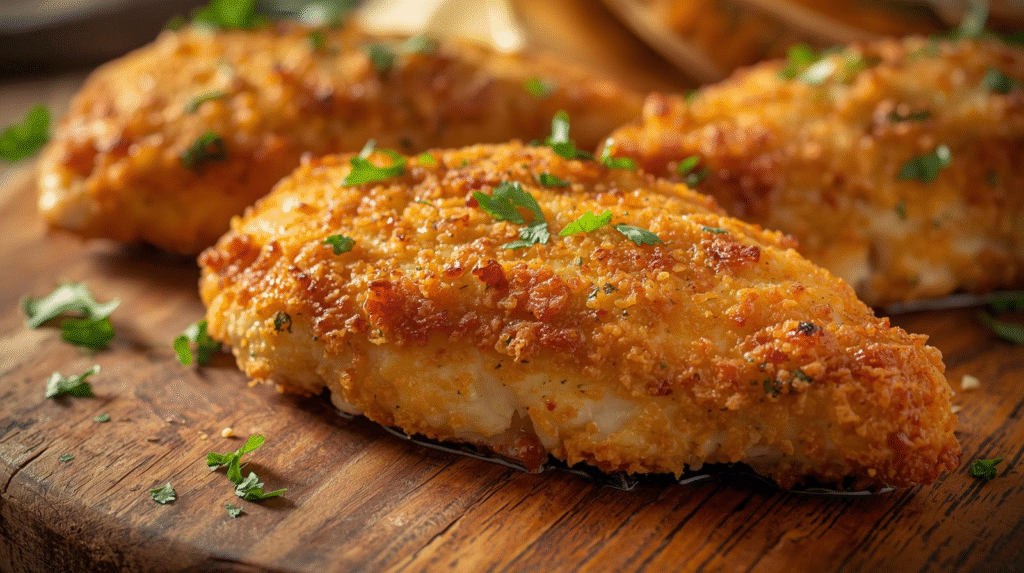
Here’s the thing about this recipe—it never disappoints. The crispy coating of parmesan and breadcrumbs locks in all the juices, so every bite is crunchy outside and tender inside. Parmesan adds that salty, nutty flavor that makes plain chicken taste like magic. And since it only takes about 35 minutes from start to finish, it’s perfect for weeknights, date nights, or even when friends suddenly show up.

Ingredients You’ll Need
Before we start, let’s lay everything out. You’ll need:
- 2 large chicken breasts (boneless, skinless)
- 1 cup breadcrumbs (panko works best for crunch)
- ½ cup grated parmesan cheese (freshly grated is amazing)
- 1 teaspoon garlic powder
- 1 teaspoon paprika
- Salt and black pepper to taste
- 2 large eggs (for coating)
- ½ cup all-purpose flour
- Olive oil or cooking spray
That’s it! Simple ingredients, nothing fancy. You probably have most of these in your kitchen already.

Step 1: Prepping the Chicken
Start by cutting your chicken breasts in half lengthwise. This makes them thinner, which helps them cook faster and more evenly. No one likes chicken that’s crispy outside but raw inside—this trick solves that problem.
Tip: If you want them super even, you can also pound them lightly with a meat mallet or rolling pin.
Step 2: Setting Up the Breading Station
This is where the fun begins. You’ll need three shallow bowls:
- First bowl: flour (lightly seasoned with salt and pepper).
- Second bowl: beaten eggs.
- Third bowl: breadcrumbs mixed with parmesan, garlic powder, and paprika.
Think of it like a mini assembly line—dip, dip, coat. The flour helps the egg stick, the egg helps the crumbs stick, and the parmesan crumbs give you that crispy golden finish.
Step 3: Coating the Chicken
Take one piece of chicken at a time. Dip it first in flour, then egg, then press it firmly into the parmesan-breadcrumb mixture. Pressing is key here—it makes sure the coating hugs the chicken and won’t fall off when you cook.
By now, your chicken should look like it’s wearing a golden breadcrumb jacket.
Step 4: Cooking the Chicken
You have two options here: pan-fry or bake.
- Pan-fry method: Heat a few tablespoons of olive oil in a large skillet over medium heat. Cook each piece of chicken for 3–4 minutes per side until golden brown and cooked through.
- Bake method: Place coated chicken on a lined baking sheet. Spray lightly with cooking spray or drizzle olive oil. Bake at 400°F (200°C) for about 20 minutes, flipping halfway through.
Both ways give you crispy results, but pan-frying makes it extra golden and crunchy.
Step 5: Serving Suggestions
Now the fun part—eating! This chicken goes with almost anything. Here are some of my favorite ways to serve it:
- With a simple side salad for a light dinner.
- On top of spaghetti with marinara sauce for a classic Italian vibe.
- Sliced in a sandwich with lettuce and mayo for a crispy chicken sandwich.
- With roasted veggies and mashed potatoes for comfort food heaven.
Honestly, once you taste it, you’ll want to pair it with everything.
Why You’ll Love This Recipe
There are so many reasons:
- Quick: Ready in about 35 minutes.
- Crispy and Juicy: The perfect texture combo.
- Kid-Friendly: Even picky eaters love it.
- Customizable: Add herbs, spice it up with chili flakes, or swap parmesan for pecorino.
This isn’t just chicken—it’s chicken that makes you excited for dinner.
Tips for Success
Here are a few secrets I’ve learned along the way:
- Use panko breadcrumbs instead of regular for extra crunch.
- Always press the coating onto the chicken firmly so it sticks.
- Don’t overcrowd the pan—cook in batches if needed.
- If baking, use a wire rack over your tray so air circulates and keeps it crispy.
Make Ahead and Storage
Good news—you can make these ahead. Coat the chicken and keep it in the fridge for up to 24 hours before cooking. Leftovers store well too:
- Fridge: Up to 3 days, just reheat in the oven to keep it crispy.
- Freezer: Freeze uncooked coated chicken on a tray, then transfer to a bag. Bake straight from frozen—just add 5 extra minutes.
Nutrition Information (per serving, approx.)
- Calories: 380
- Protein: 35g
- Carbs: 18g
- Fat: 18g
A balanced, protein-packed meal that feels indulgent but isn’t too heavy.

FAQs About Crispy Parmesan Chicken
Q: Can I make this gluten-free?
Yes, use almond flour instead of all-purpose flour and gluten-free breadcrumbs. It tastes just as good.
Q: Can I use chicken thighs instead of breasts?
Absolutely! Chicken thighs are juicier and work great—just adjust cooking time since they’re thicker.
Q: Do I have to fry it?
Not at all. Baking works perfectly and is lighter. The parmesan helps it crisp up even in the oven.
Q: What’s the best cheese to use if I don’t have parmesan?
Pecorino Romano or even asiago can step in. But parmesan gives the best flavor combo.
Q: Can I add spices to the coating?
Definitely! Italian seasoning, chili flakes, or even a touch of cayenne can give it an extra kick.
Final Thoughts
So, there you have it—crispy parmesan chicken in just 35 minutes. It’s simple, it’s delicious, and it feels way fancier than the effort it takes. Trust me, once you try this, you’ll be adding it to your weekly dinner rotation. And who doesn’t want a meal that’s quick, crunchy, and completely satisfying?
