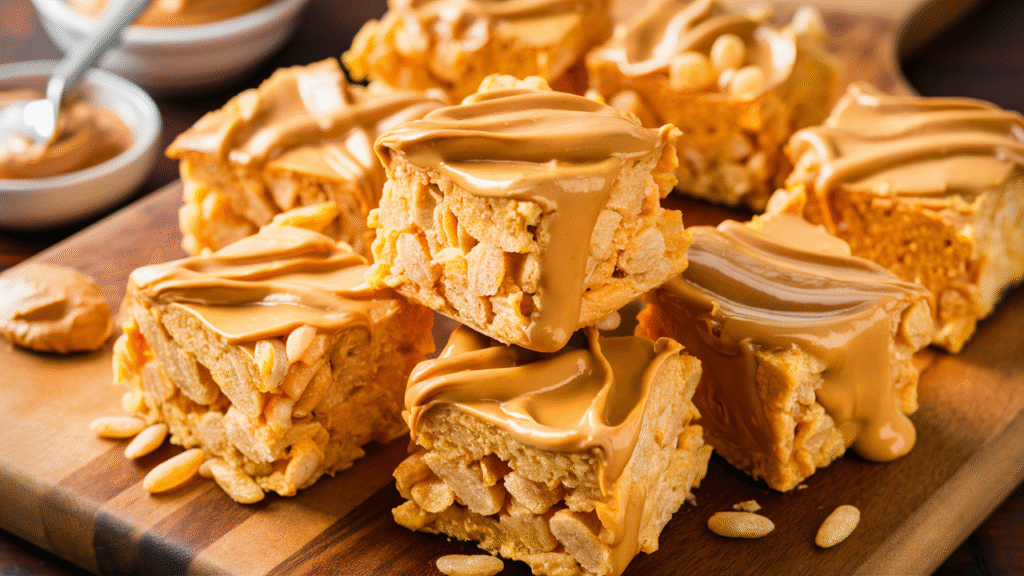
Introduction
I still remember the first time I made peanut butter rice crispy treats. It wasn’t in some fancy kitchen—it was in my small college apartment with just three ingredients sitting on the counter: cereal, peanut butter, and marshmallows. I was craving something sweet but didn’t want to spend hours baking. That’s when I stumbled into this recipe, and let me tell you, it was love at first bite.
The chewy crunch of crispy rice cereal mixed with the nutty flavor of peanut butter and gooey melted marshmallows? Pure happiness. The best part—it takes just minutes to whip up and requires zero baking. Over the years, I’ve made it countless times for potlucks, kids’ parties, or just a late-night snack. Every single time, the plate comes back empty.
Today, I’m sharing my go-to peanut butter rice crispy treats recipe with you. It’s simple, fun, and guaranteed to bring a smile to your face. Whether you’re a kitchen pro or a complete beginner, this recipe will be your new favorite sweet fix.
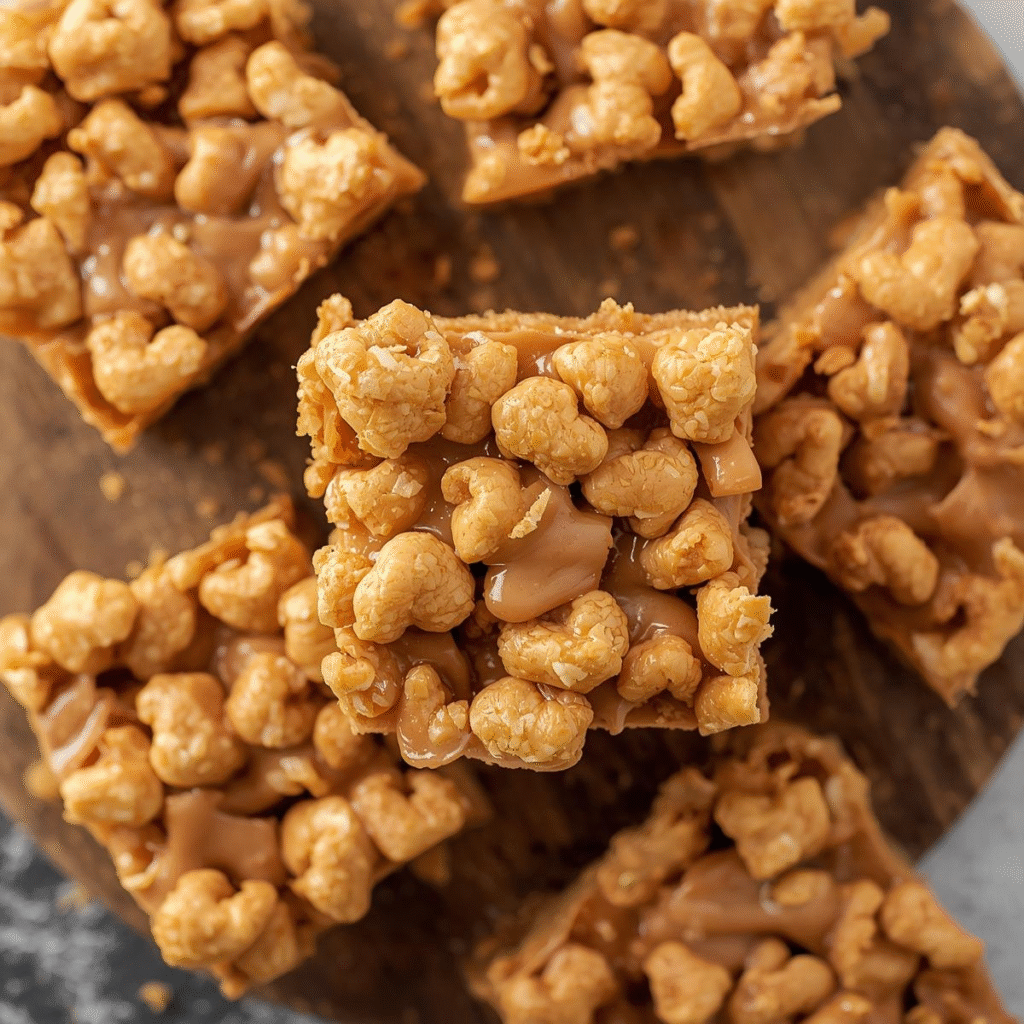
Ingredients List
Here’s everything you’ll need to make the perfect batch of peanut butter rice crispy treats:
- 6 cups rice crispy cereal (any brand works, but the classic Rice Krispies is a favorite)
- 1 cup creamy peanut butter (natural or regular)
- 1 bag mini marshmallows (10 oz, about 5–6 cups)
- 3 tablespoons unsalted butter
Optional Add-Ins & Variations
- Chocolate chips (½ cup) for a peanut butter-chocolate combo.
- Sea salt (a pinch sprinkled on top for a sweet-salty twist).
- Almond butter or sunflower seed butter as peanut butter substitutes.
- Vegan option: Use vegan marshmallows and dairy-free butter.
- Gluten-free option: Make sure your cereal is certified gluten-free.
Pro Tip: If you love texture, add 1 cup of crushed pretzels or chopped peanuts for extra crunch.
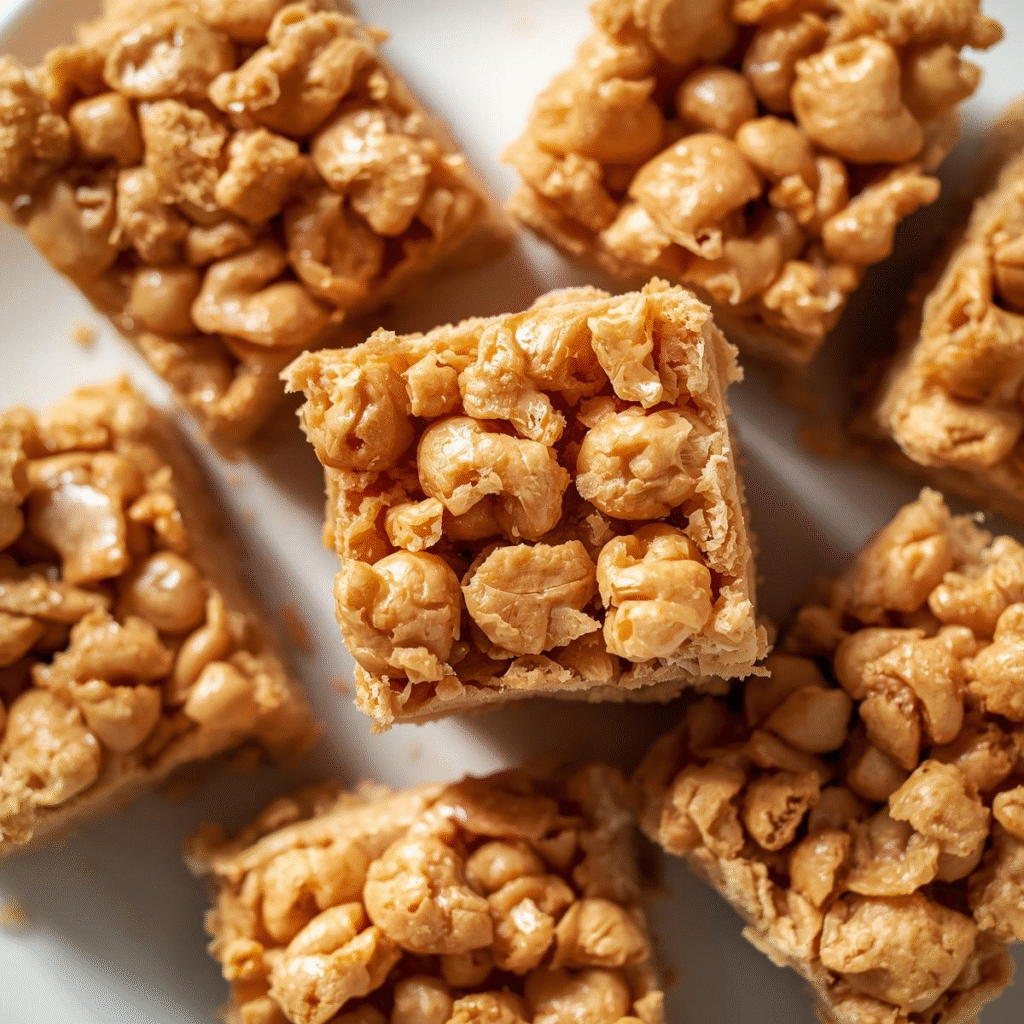
Step-by-Step Instructions
Follow these simple steps to make your peanut butter rice crispy treats:
1. Prepare Your Pan
- Lightly grease a 9×13-inch baking pan with butter or non-stick spray.
- For easier removal, line it with parchment paper.
2. Melt the Butter and Marshmallows
- In a large pot, melt 3 tablespoons butter over low heat.
- Add the mini marshmallows and stir continuously until smooth and melted.
- Tip: Keep the heat low to avoid burning or making the mixture too stiff.
3. Stir in Peanut Butter
- Once the marshmallows are melted, quickly stir in 1 cup peanut butter.
- Mix until fully combined and creamy.
- Pro Secret: If you like a stronger peanut flavor, add 2 tablespoons extra.
4. Add the Cereal
- Remove the pot from heat.
- Gently fold in the 6 cups rice crispy cereal.
- Stir until all the cereal is coated with the marshmallow-peanut butter mix.
- Common Mistake to Avoid: Don’t overmix, or the cereal will get crushed and lose its crunch.
5. Press into the Pan
- Pour the mixture into your prepared baking pan.
- Use a buttered spatula or wax paper to press it down evenly.
- Tip: Don’t press too hard—light pressure keeps the treats soft and chewy.
6. Cool and Slice
- Let the treats cool at room temperature for at least 30 minutes.
- Cut into squares, rectangles, or fun shapes using cookie cutters.
Serving Suggestions
The beauty of peanut butter rice crispy treats is that they’re incredibly versatile. Here are some fun ways to enjoy them:
- Classic style: Just cut into squares and serve with a cold glass of milk.
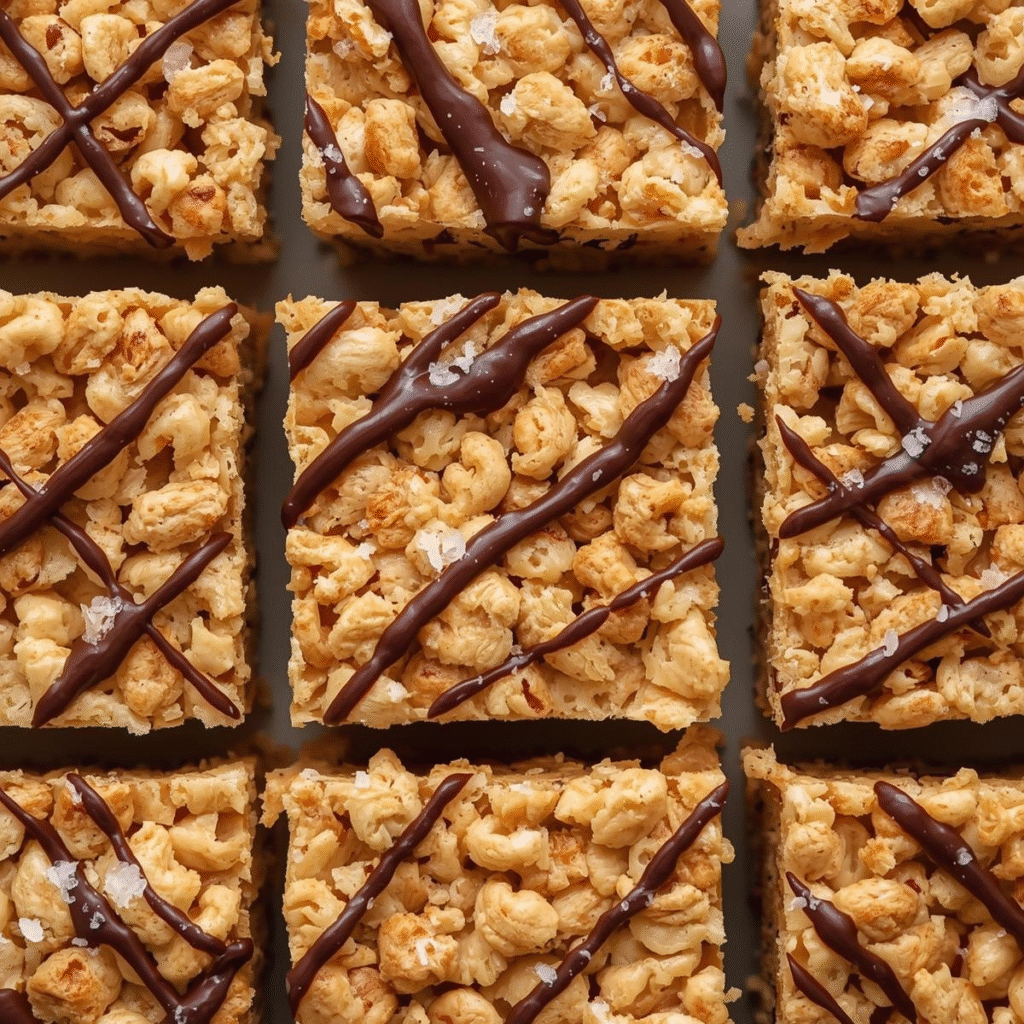
- Chocolate drizzle: Melt ½ cup chocolate chips and drizzle over the cooled treats.
- Holiday version: Top with colored sprinkles for Christmas, Easter, or birthdays.
- Kid-friendly twist: Add candy-coated chocolates like M&Ms before pressing into the pan.
- Grown-up snack: Sprinkle a little flaky sea salt on top for a sweet-salty combo.
Storage & Meal Prep Tips
- Room Temperature: Store in an airtight container for up to 3 days.
- Fridge: Keeps well for about a week, but may get a little harder.
- Freezer: Wrap tightly in plastic wrap and store in a freezer bag for up to 2 months. Thaw at room temp before eating.
- Meal Prep Hack: Cut into squares, wrap individually, and keep in the fridge for a grab-and-go snack.
Tip: To keep them soft, place a slice of bread in the container. The bread absorbs moisture, keeping the treats chewy.
Nutritional Information (Per Square, approx. 1 of 20 servings)
- Calories: 180
- Carbohydrates: 25g
- Sugar: 12g
- Protein: 3g
- Fat: 8g
- Fiber: 1g
Keep in mind these numbers may vary depending on brands and add-ins.
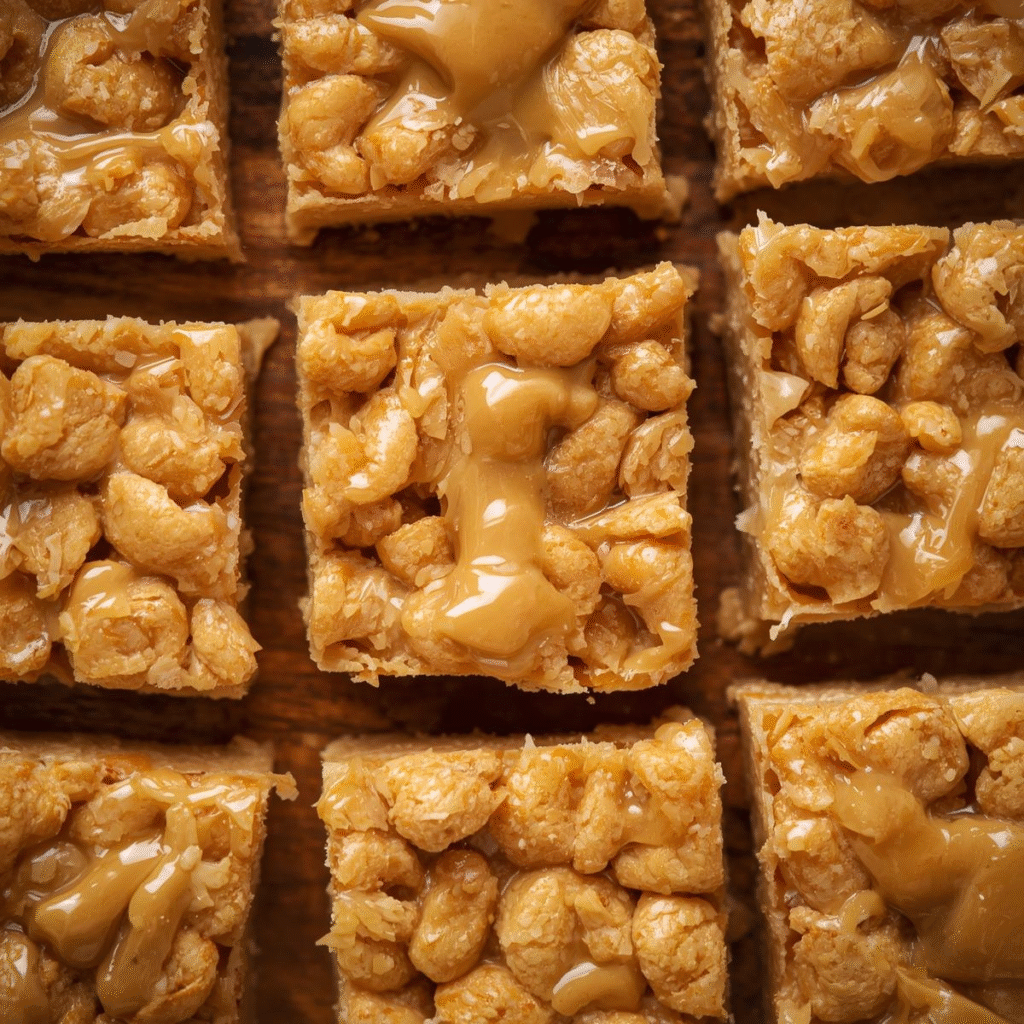
FAQs About Peanut Butter Rice Crispy Treats
1. Can I use chunky peanut butter instead of creamy?
Yes! Chunky peanut butter adds extra crunch and texture. Just keep in mind it won’t be as smooth when mixing.
2. Can I make these without marshmallows?
You can! Substitute marshmallows with ½ cup honey or maple syrup + ½ cup sugar boiled with butter. It won’t be exactly the same but still delicious.
3. Why are my rice crispy treats too hard?
This happens if you melt marshmallows on high heat or press the mixture too firmly into the pan. Always keep the heat low and press gently.
4. Can I use puffed rice instead of Rice Krispies?
Yes, but the texture will be lighter and less crunchy. Stick with crispy rice cereal for the classic chew.
5. How long do they stay fresh?
About 3 days at room temperature or up to a week in the fridge. For longer storage, freeze them.
6. Are these gluten-free?
Yes—if you use a gluten-free rice cereal and marshmallows. Always check the labels.
7. Can kids help make these?
Absolutely! Kids love helping stir the cereal and press the mixture into the pan. Just handle the hot marshmallow step yourself.
Final Thoughts
If you’re looking for a recipe that’s quick, easy, and always a crowd-pleaser, these peanut butter rice crispy treats check every box. They’re sweet, nutty, chewy, and oh-so-satisfying. The best part? You can whip them up in just 10 minutes with simple ingredients you probably already have at home.
So, next time your sweet tooth strikes or you need a fast dessert for a gathering, give this recipe a try. I promise—it will become a favorite in your home just like it is in mine.
