Why I Love Homemade Fruit Popsicles
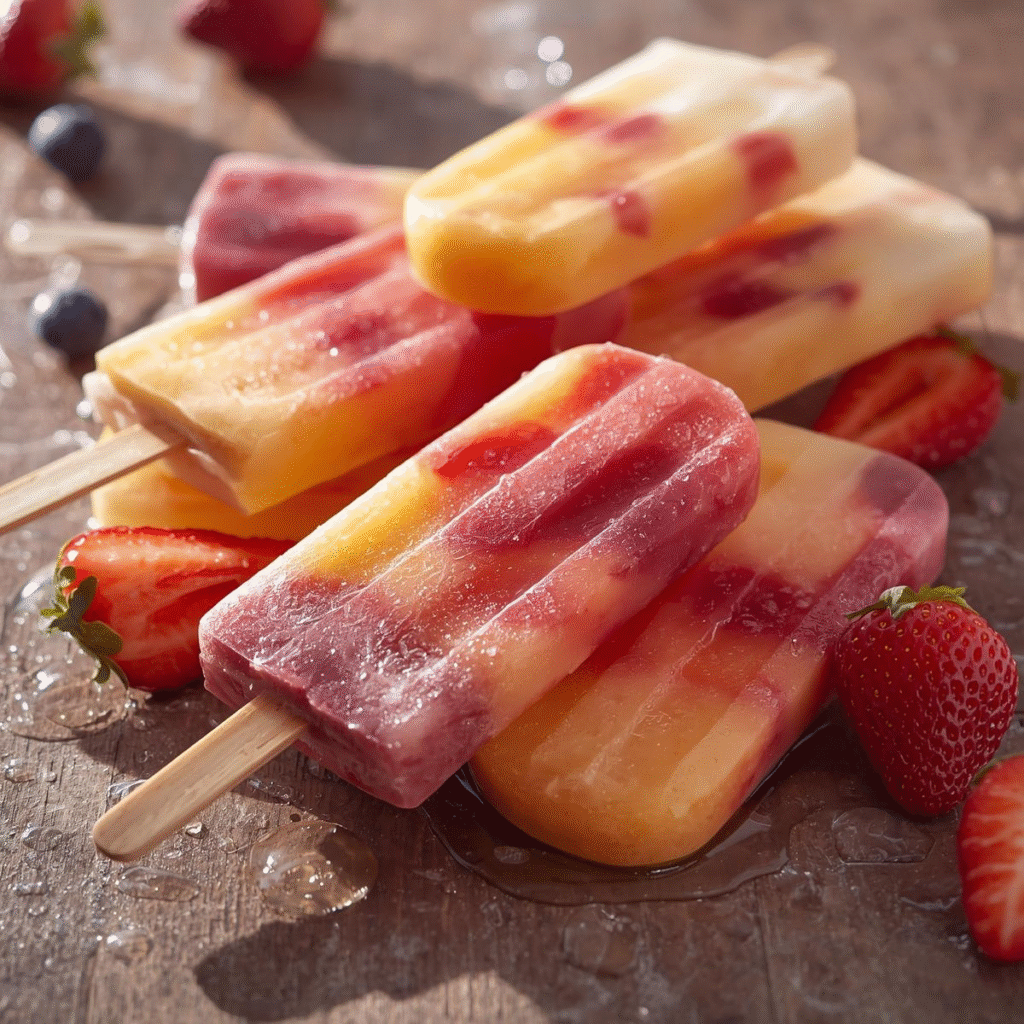
Let me be honest with you: summer gets me every time. The heat, the long days, and that craving for something cold and refreshing. I used to reach for store-bought popsicles, but then I realized how much sugar and artificial stuff they sneak in there. That’s when I thought—why not make my own? And let me tell you, once I started making homemade fruit popsicles, there was no turning back.
They’re not only healthy and easy, but also so much fun to make—especially with kids. You get to play around with colors, flavors, and shapes. It’s like edible art. And the best part? You know exactly what’s going inside.
If you’ve never made them before, you’re about to discover how easy it is. And if you’re already a fan, I’ll share some tips and flavor combos that might just inspire your next batch.
The Benefits of Making Your Own Popsicles
Why go through the trouble of making popsicles when you can just grab a pack from the freezer section? Because homemade is always better. Here’s why:
- Healthier Ingredients: You control the sugar level, skip artificial dyes, and use real fruit.
- Budget-Friendly: A bag of fresh fruit can make several popsicles for the price of one store-bought pack.
- Kid-Friendly Fun: Kids love to help. From pouring juice into molds to picking fruit chunks, it’s an activity and snack in one.
- Customizable: Craving mango and coconut? Or maybe strawberries with a hint of mint? You can make exactly what you want.
- Zero Guilt: When your kids ask for a second popsicle (and they will), you’ll happily say yes because you know it’s full of fruit goodness.

What You’ll Need to Get Started
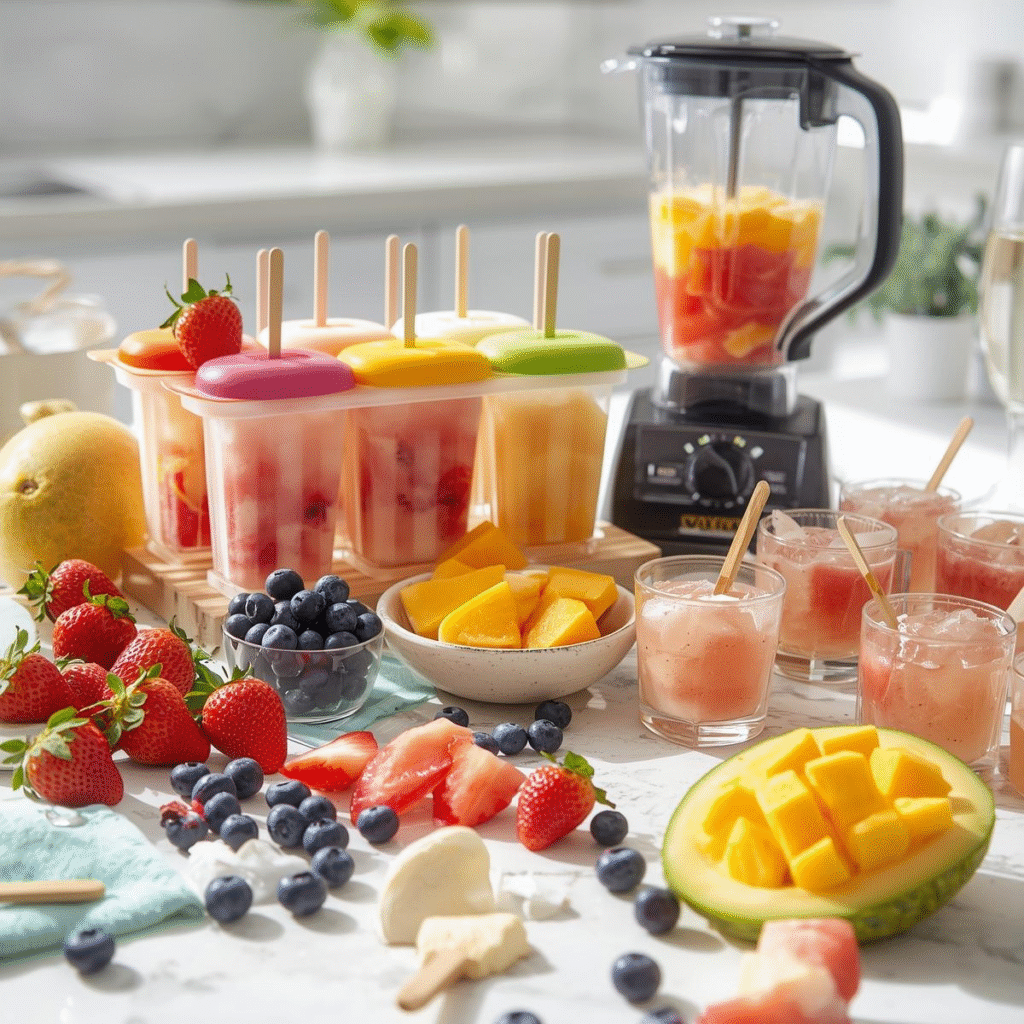
You don’t need fancy equipment to make fruit popsicles at home. Just a few basics:
- Popsicle Molds: You can find them online or in most home stores. If you don’t have molds, use small cups and sticks.
- Blender or Food Processor: To puree your fruit.
- Fresh or Frozen Fruit: Berries, mangoes, watermelon, peaches—the options are endless.
- Liquid Base: Juice, coconut water, or yogurt help blend the fruit and freeze smoothly.
- Sweetener (Optional): Honey, agave, or maple syrup if your fruit isn’t sweet enough.

Step-by-Step Recipe for Homemade Fruit Popsicles
Step 1: Pick Your Fruit
Choose what’s in season or what you already have at home. Fresh strawberries, juicy mangoes, or a handful of blueberries all work. If using frozen fruit, let it thaw a bit before blending.
Step 2: Blend It Smooth
Add your fruit to the blender with a splash of juice or coconut water. Blend until smooth. Taste it—if you want it sweeter, add a little honey.
Step 3: Layer or Mix
Here’s the fun part. You can:
- Keep it simple with one flavor.
- Mix two fruits together (like pineapple + mango).
- Make layers by pouring one fruit mix, freezing it for 20 minutes, then adding another.
Step 4: Pour Into Molds
Fill your molds, leaving a little space at the top because pops expand as they freeze. Insert sticks.
Step 5: Freeze
Place in the freezer for at least 4–6 hours (overnight is best).
Step 6: Enjoy!
To release the pops, run warm water over the outside of the molds for a few seconds, then gently pull.
Flavor Ideas to Try
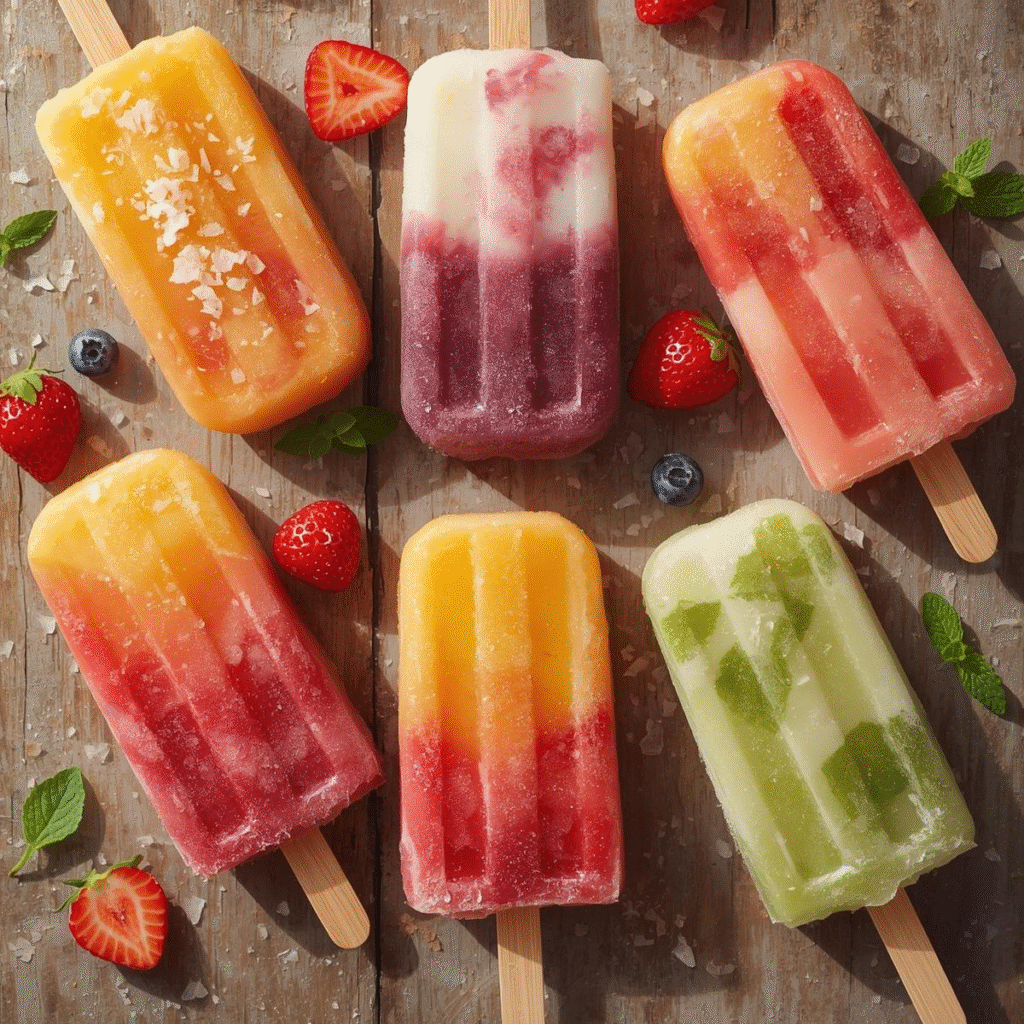
Here are some tried-and-true combos you’ll love:
- Strawberry Lemonade: Fresh strawberries with a squeeze of lemon juice.
- Tropical Mango Coconut: Mango puree with coconut milk.
- Berry Blast: Blueberries, raspberries, and strawberries blended with apple juice.
- Peach Iced Tea Pops: Blend ripe peaches with cooled iced tea.
- Creamy Strawberry Yogurt: Strawberries mixed with Greek yogurt for a creamy twist.
- Watermelon Mint: Watermelon puree with fresh mint leaves for a refreshing taste.

Tips for Perfect Popsicles Every Time
- Don’t Over-Sweeten: Fruits taste sweeter when frozen, so taste before adding sweetener.
- Avoid Big Chunks: Large fruit chunks turn icy and hard. Keep pieces small or blend smooth.
- Balance the Liquid: Too much liquid makes them icy, too little makes them too thick. Aim for smoothie-like consistency.
- Add Texture: Try adding chia seeds, shredded coconut, or tiny fruit bits for a surprise bite.
- Experiment: Popsicles are forgiving. Even if you “mess up,” they’ll still be refreshing and tasty.
Why Kids Love Them (and Parents Too)
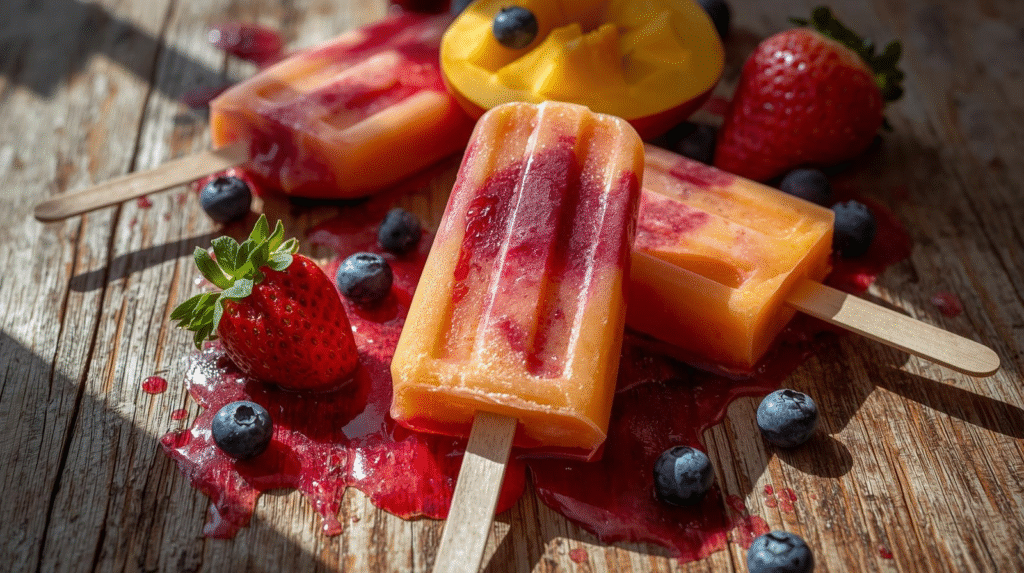
I have to share this: the first time I made homemade popsicles, my niece said, “This tastes like rainbow juice!” and ran around the yard with a red-stained smile. That’s when I realized popsicles aren’t just snacks—they’re memories.
For parents, it’s a win-win. Kids get a treat, and you know it’s packed with fruit, not food coloring and corn syrup. Plus, getting kids involved in making them makes them even more excited to eat healthy.
Storage and Shelf Life
Homemade popsicles can last in the freezer for up to 2–3 weeks if stored properly. Keep them in an airtight container or wrapped individually to avoid freezer burn.
FAQs About Homemade Fruit Popsicles
Q: Can I use frozen fruit instead of fresh?
Yes! Frozen fruit works just as well. Just thaw slightly before blending.
Q: Do I need popsicle molds?
Nope. You can use small paper cups or even ice cube trays with toothpicks.
Q: How long do they take to freeze?
On average, about 4–6 hours. Overnight is best for a firm texture.
Q: Can I make them creamy instead of icy?
Yes! Use yogurt, coconut milk, or almond milk to make them creamy.
Q: Are they safe for toddlers?
Absolutely, just avoid adding too much honey for kids under one year old.
Final Thoughts
Making homemade fruit popsicles is one of those simple joys that make summer feel magical. They’re light, refreshing, and a healthier swap for store-bought frozen treats. Once you try them, I promise you’ll never look back.
So go grab some fruit, a blender, and get creative—you’ll thank yourself when you’re sitting in the sun with a colorful, icy popsicle in hand.
